Thoughtful outdoor lighting ideas, project highlights, and practical guidance for Long Island homes.
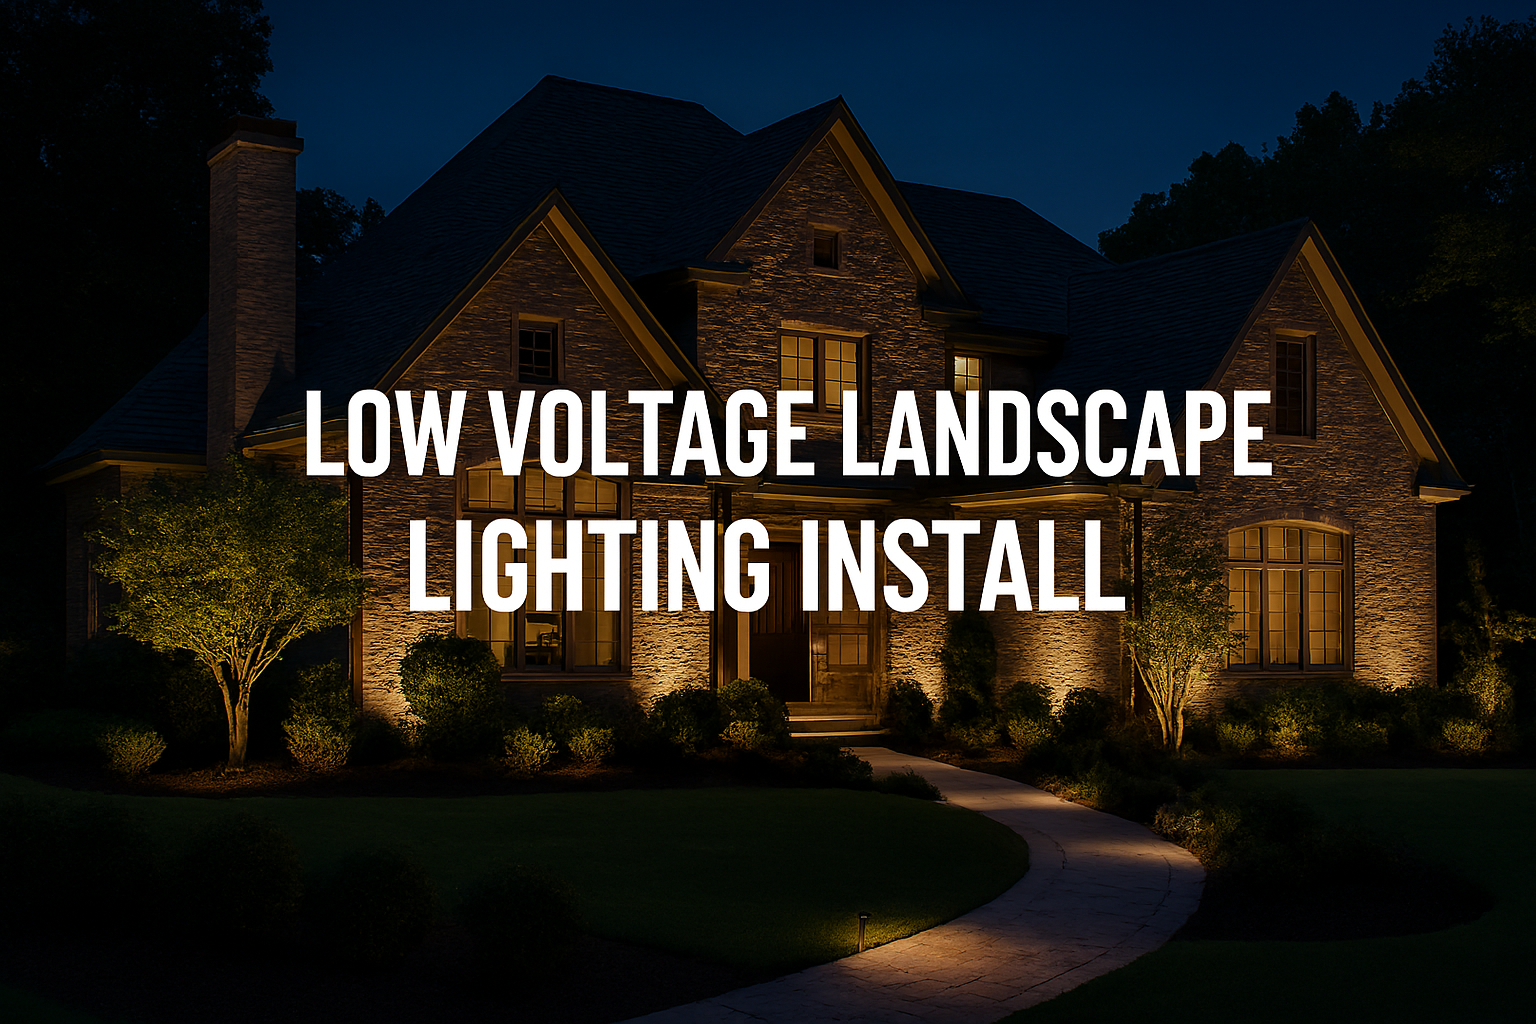
Low Voltage Landscape Lighting Install
If you’re wondering whether you can install low-voltage landscape lighting yourself, the answer is: yes, and it’s easier than you think. With some planning, basic tools, and the right components, you can transform your yard with a lighting system that looks professional — without the pro price tag.
What Is Low Voltage Landscape Lighting?
Low voltage lighting typically runs at 12 volts, powered by a transformer that steps down your home’s standard 120V. It’s ideal for outdoor use because it’s safer, more energy-efficient, and easier to DIY than high-voltage setups.
You’ll often find it in:
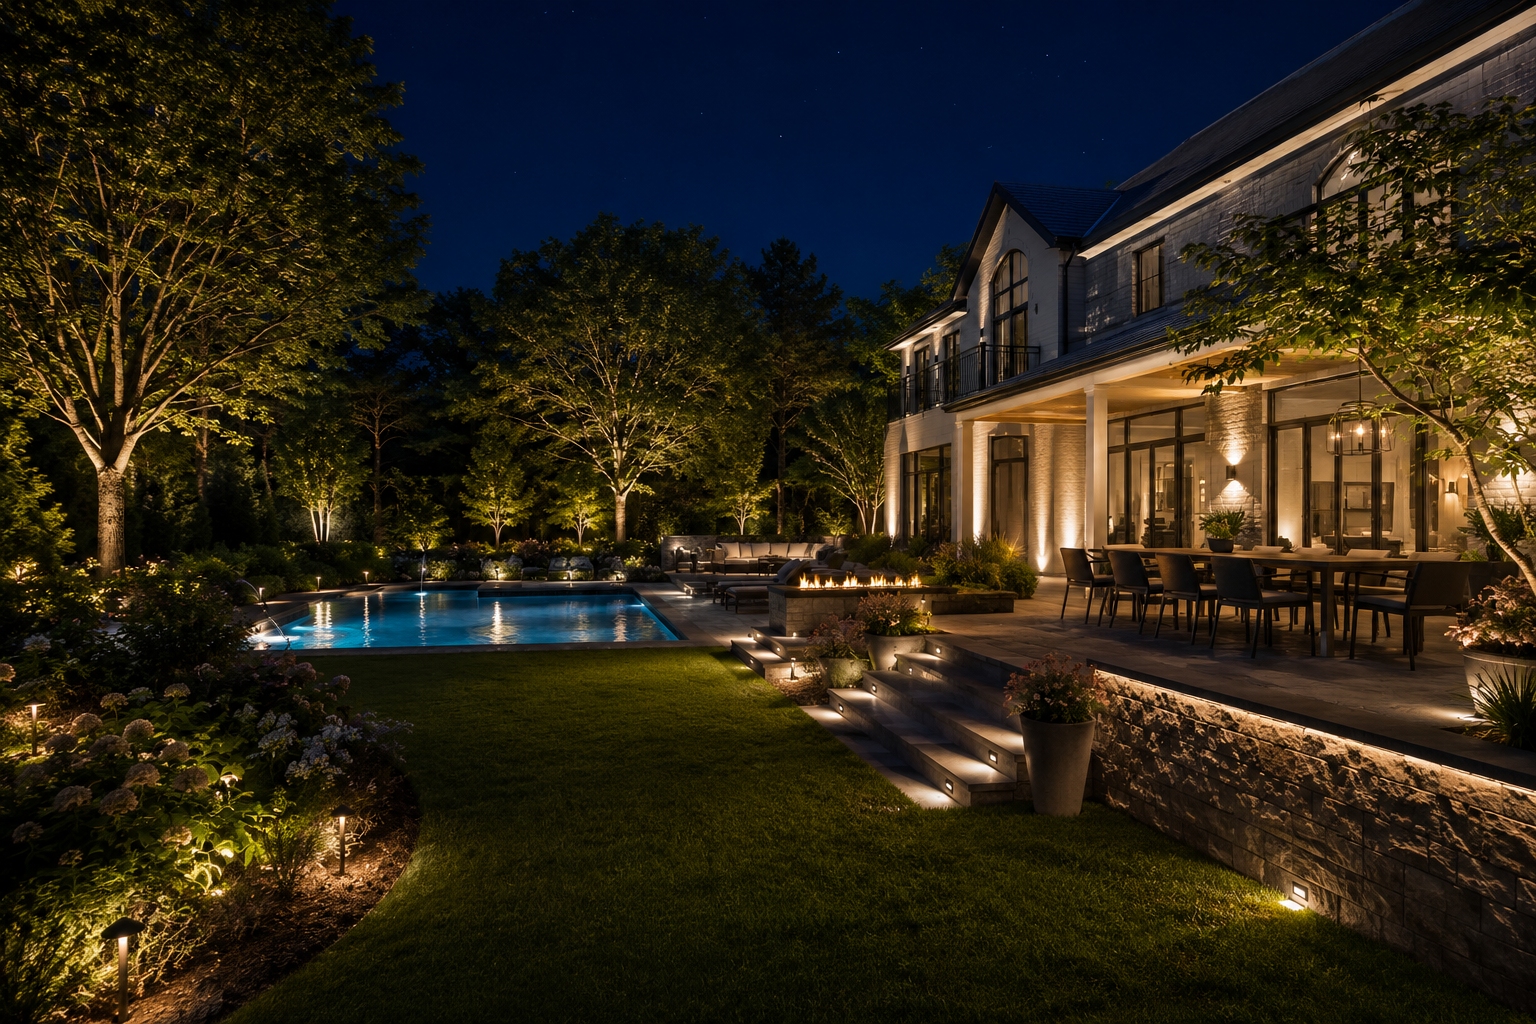
- Pathway lights
- Uplights on trees
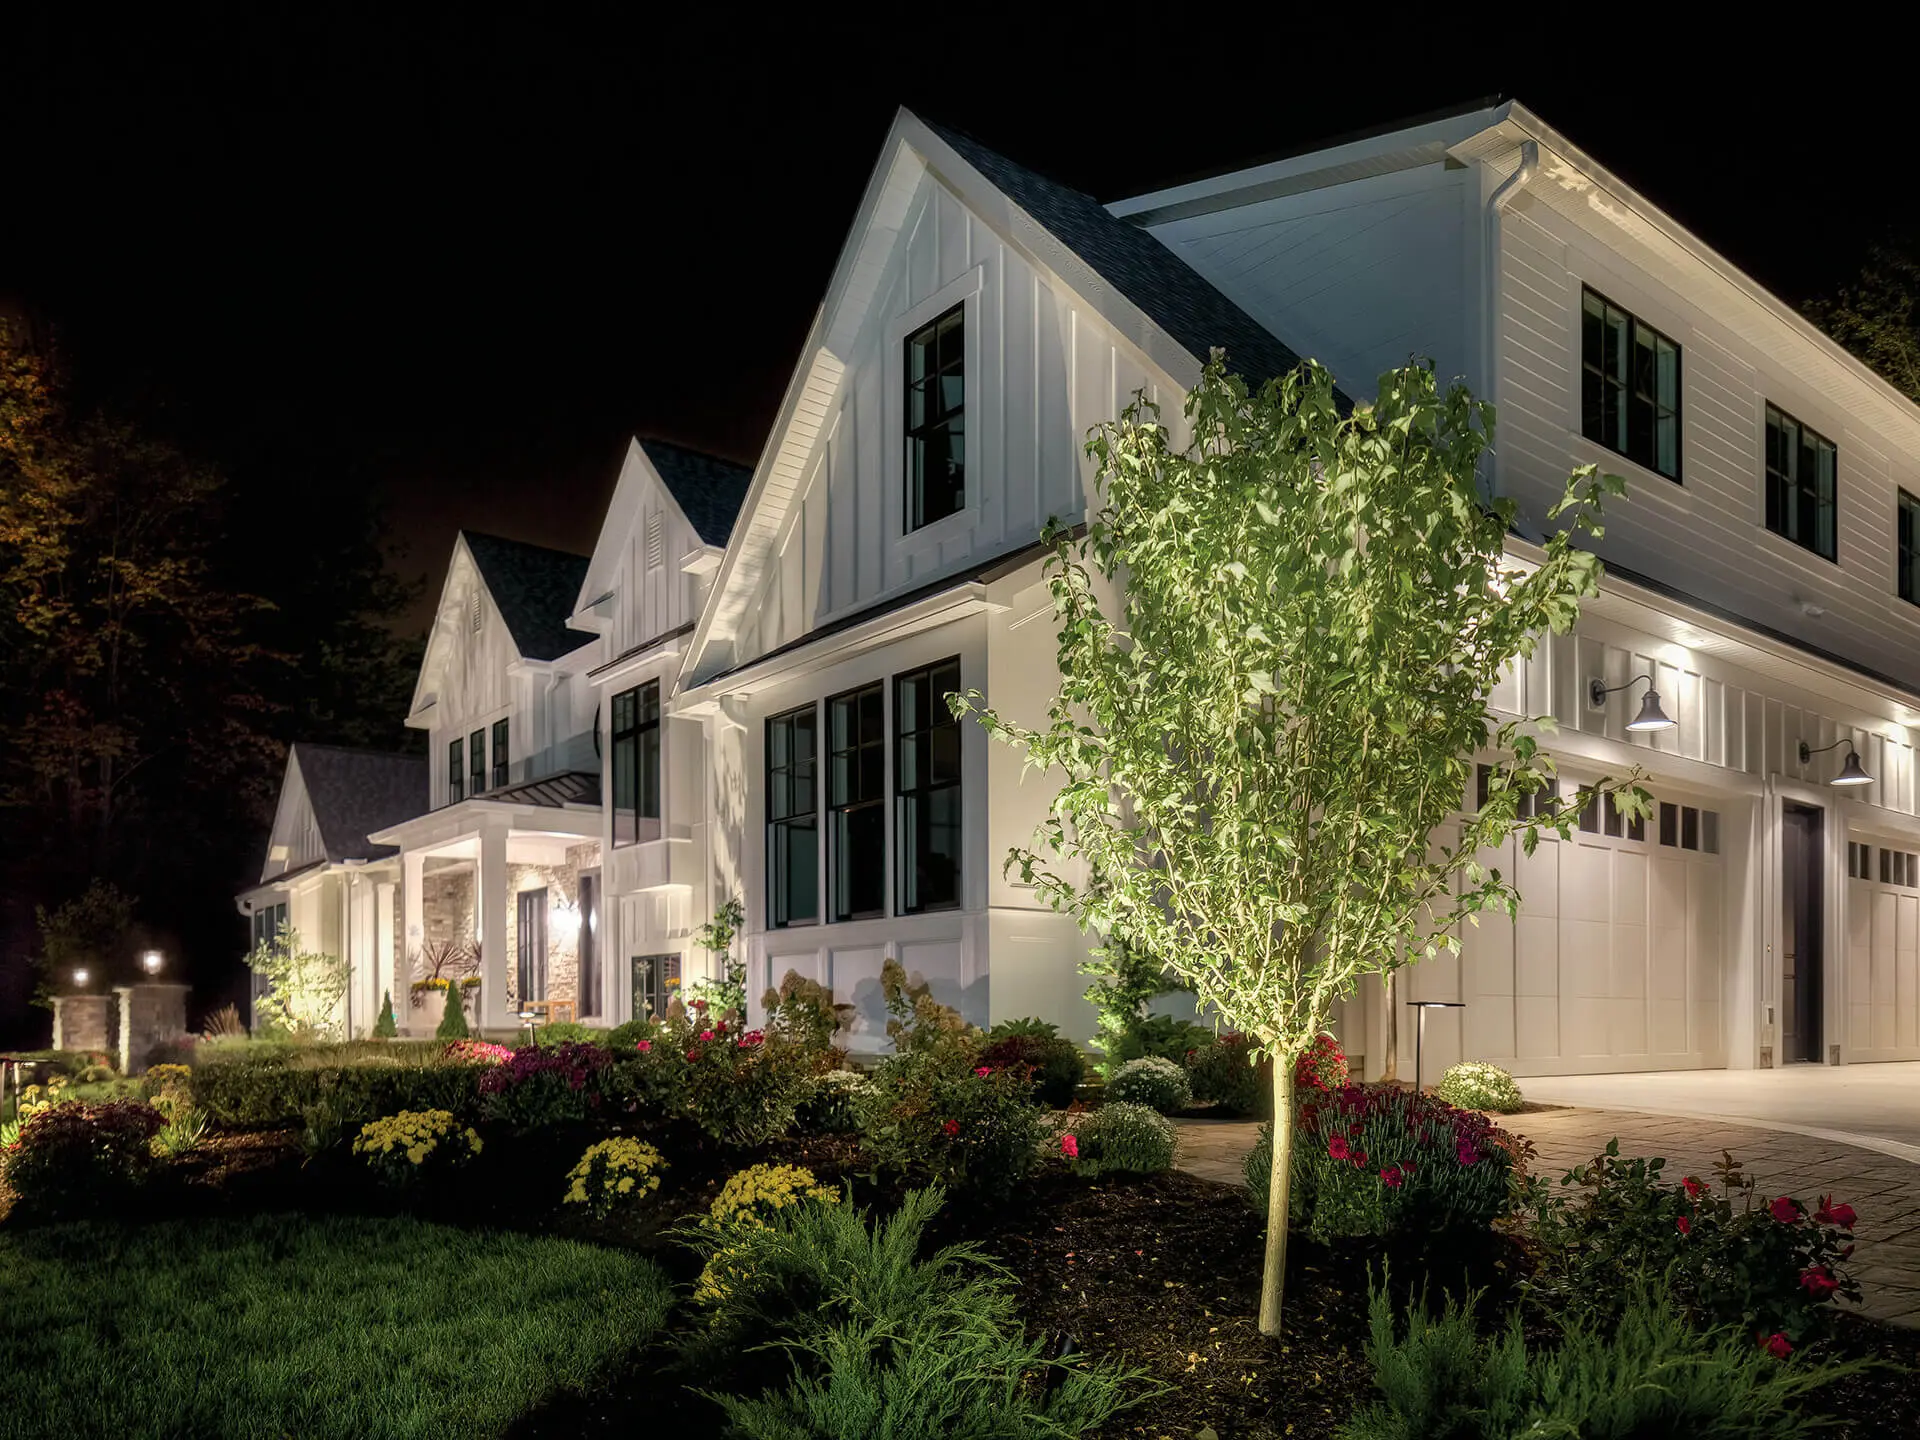
- Spotlights for architectural features
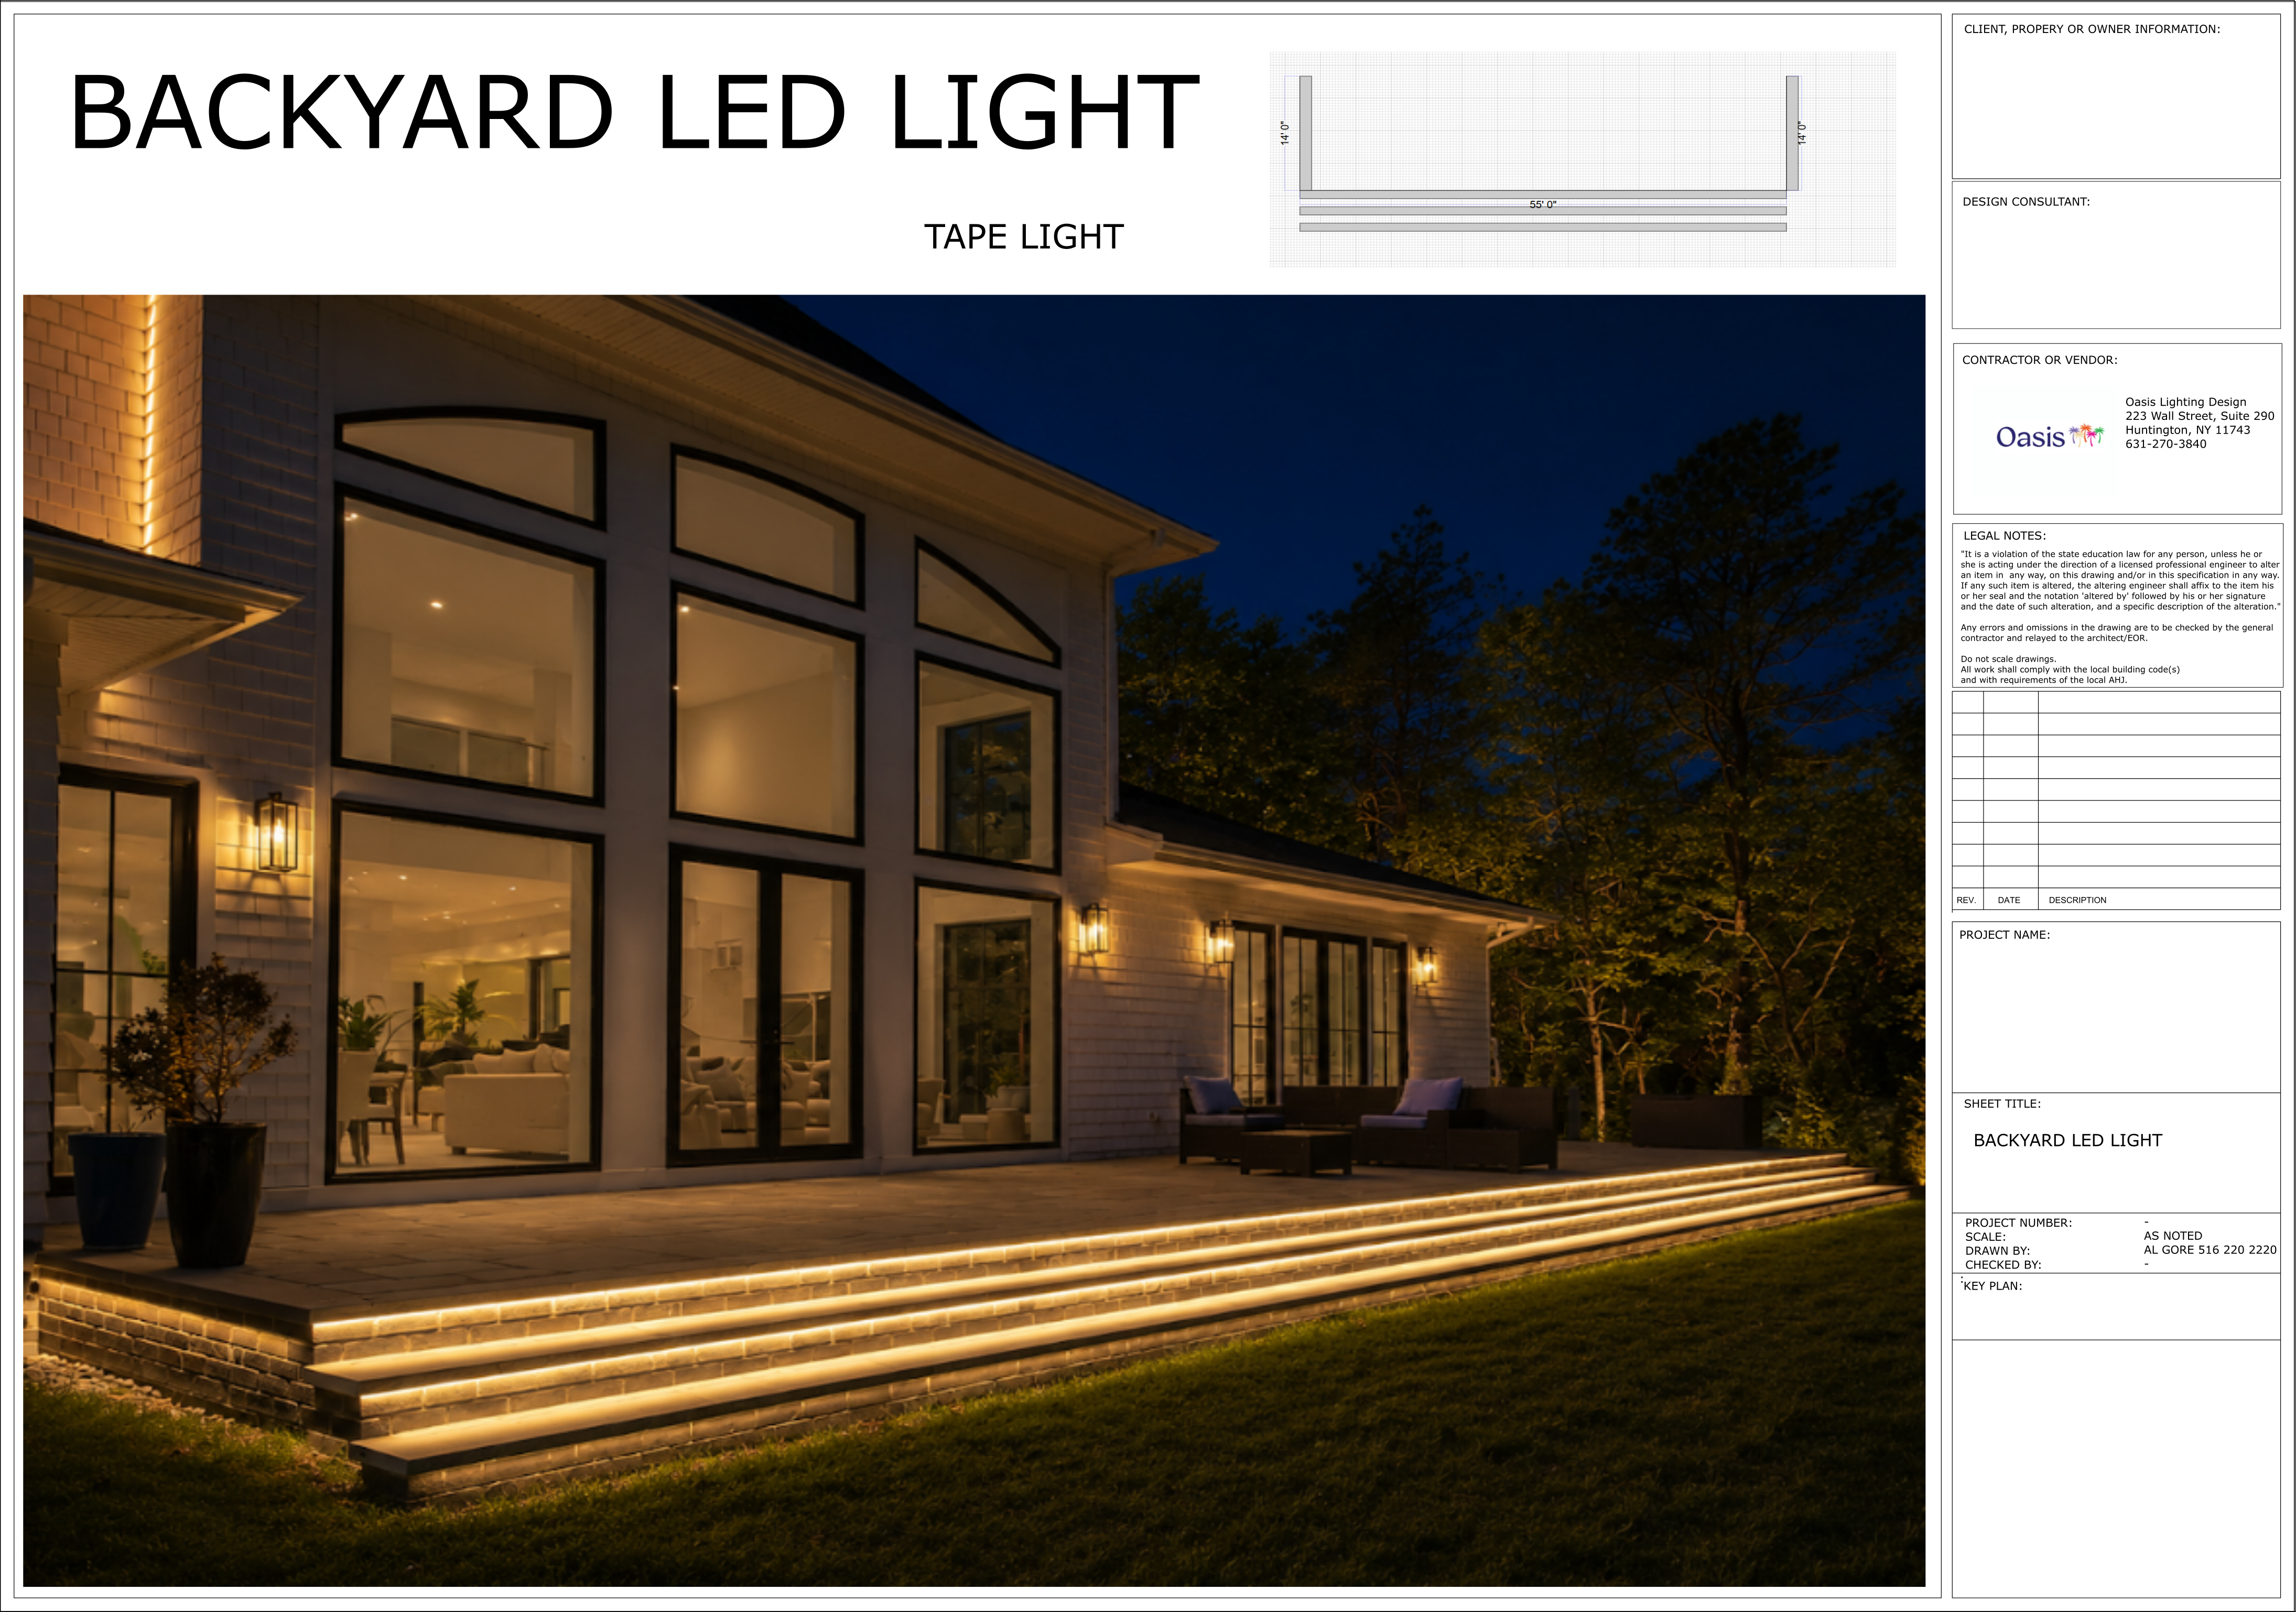
- Deck and step lighting
What Do I Need to Install It?
Here’s a quick checklist:
- ✅ Transformer (converts 120V to 12V)
- ✅ 12/2 or 14/2 low-voltage cable
- ✅ LED or halogen fixtures
- ✅ Waterproof wire connectors
- ✅ Trenching tool (flat shovel or edger works)
- ✅ Timer or photocell (optional for automation)
Pro Tip: Buy a transformer with more wattage than you currently need — this leaves room for future lights.
If you want to compare DIY basics with a professionally designed system, our landscape lighting overview and main lighting services page show how full-property layouts are planned for Long Island homes.
How Do I Plan My Layout?
Before buying anything, walk your yard at dusk and imagine where lighting will improve safety or highlight focal points like trees, walkways, or entryways.
Simple rules to follow:
- Place path lights every 6–8 feet
- Use uplights to accent trees or columns
- Avoid over-lighting — balance is key
- Use 2700K–3000K warm color temp for a cozy glow
How Deep Should I Bury the Wire?
While it’s technically okay to lay the wire on top of mulch or under rocks, the best practice is to bury it 4–6 inches deep. This protects it from:
- Lawn mowers
- Foot traffic
- Weather damage
- Curious pets or wildlife
Use a flat spade, trenching tool, or even a manual lawn edger to create a quick slit for the cable.
Do I Need a Conduit?
For most residential installs, no conduit is required for 12V wire — but it’s still a smart idea around:
- Driveways or walkways
- Rodent-prone areas
- Heavy equipment zones
Transformers, timers, and photocells are also worth planning early. Those control pieces often determine how reliable the system feels from night to night, especially when you want the lights to turn on automatically for guests, entry visibility, or backyard use.
Does Polarity Matter?
Most modern LED landscape fixtures are polarity-insensitive, meaning it doesn’t matter which wire connects where. They’ll still work. But always read the instructions — some older systems may be sensitive.
How Long Will It Take?
Depends on your setup:
- 🔹 4–6 lights: 2–3 hours
- 🔹 10–12 lights: a weekend
- 🔹 Full yard or multi-zone installs: hire a pro or block off a few weekends
Common Mistakes to Avoid
- Too many lights – Looks like an airport runway. Focus on balance and intention.
- No plan – Sketch it out before buying gear.
- Underestimating voltage drop – Long wire runs? Use heavier gauge wire (like 12/2).
- Skipping waterproof connectors – Your system won’t last long without them.
Should I DIY or Hire a Pro?
If you:
- Are comfortable with basic wiring
- Enjoy working outside
- Want to save on labor costs
Then DIY is absolutely doable. But if you need permits, have complex zoning, or just want perfect results — calling a professional might be worth it.
Need help figuring out transformer size, wire length, or fixture spacing? Contact Oasis Lighting Design, review our walkway lighting service, or read our spring installation planning guide if you want the system ready before peak summer use.
Final Thoughts
Low voltage landscape lighting isn’t just for aesthetics — it adds real value, security, and ambiance to your home. Whether you’re uplighting a beautiful oak tree or guiding guests safely down a path, the right lighting makes all the difference.
Plan it out, keep it simple, and don’t forget: warm light, clean wiring, and waterproof connections go a long way.
If you decide a professionally installed system makes more sense, you can explore our Long Island service areas and request a consultation to talk through layout, scheduling, and next steps.