What Are Hardscape Lights?
Hardscape lights are fixtures integrated into masonry and structural elements to provide subtle, directional illumination.
They are commonly used to define edges, improve visibility, and support layered nighttime design.
Fixture Type Guide
Placement and output guidance for retaining walls, outdoor kitchens, seat walls, patios, and transition zones.
Hardscape lighting is especially valuable on Long Island properties with multi-level patios, masonry walls, and integrated outdoor kitchens.
Example fixture images from our current catalog that commonly support this fixture type and design approach.
Hardscape lights are fixtures integrated into masonry and structural elements to provide subtle, directional illumination.
They are commonly used to define edges, improve visibility, and support layered nighttime design.
Retaining wall lighting helps reveal wall textures and separates grade transitions for safer movement.
Uniform spacing and thoughtful beam spread prevent scalloping and dark pockets.
Step edges and risers should be lit with controlled output to prevent trip hazards and reduce glare.
A consistent rhythm across each flight is usually more effective than over-bright single fixtures.
Outdoor kitchen zones benefit from task-oriented hardscape lighting plus softer ambient support from nearby layers.
Fixture placement should avoid direct eye-level glare for seated guests.
Patio hardscape lighting should define boundaries while keeping social zones comfortable and warm.
Integrated hardscape fixtures pair well with tree lighting and architectural accents for a cohesive scene.
Plan placements around movement patterns, stair transitions, and focal gathering areas.
On Long Island, freeze-thaw cycles and moisture exposure should be considered during fixture and finish selection.
Hardscape lights are specified in professional outdoor lighting plans for retaining walls, seat walls, stair transitions, outdoor kitchens, raised patios, and perimeter edge definition. On Long Island projects, they are rarely chosen in isolation. They are selected as part of a complete system that balances architecture, landscape texture, circulation, and nighttime comfort.
For Nassau and Suffolk County homes, design decisions are driven by property layout, setbacks, mature planting, weather exposure, and how homeowners actually use the property after dark. This is why fixture selection should always be tied to function, viewing angle, and long-term serviceability.
Typical applications include retaining walls, seat walls, stair transitions, outdoor kitchens, raised patios, and perimeter edge definition. In higher-end residential work, each application is treated as a distinct visual layer so the finished scene feels intentional rather than uniformly bright.
Long Island homes often combine traditional architecture, dense shrubs, and irregular grade transitions. Designers therefore sequence applications by priority: safety and navigation first, architectural composition second, and ornamental enhancement third.
Placement starts with nighttime walkthroughs and key sightlines from street approach, front entry, patio seating, and pool access points. For this fixture type, the practical rule is: prioritize tread safety, grade transitions, and gathering-zone boundaries before decorative rhythm.
A strong layout avoids over-concentration in one zone. Instead, placement should create a readable nighttime path and a balanced hierarchy between focal accents and broader ambient layers.
Spacing should not be copied from a fixed internet formula. For this fixture type, the recommended method is to use consistent rhythm across stairs and walls, adjusting intervals for wall texture, tread depth, and seating orientation.
On-site mock placement before final trenching or mounting consistently produces better outcomes than paper-only planning. This is especially true on Long Island properties with curved walks, mature root systems, and mixed hardscape materials.
Color temperature directly affects material tone, curb appeal, and nighttime comfort. For this fixture type, the target range is usually 2700K to keep masonry warm and blend with surrounding landscape accents and architectural lighting.
Consistency across zones matters as much as the chosen Kelvin value. Mixing dissimilar tones across connected areas often makes premium properties look patchy and less refined.
Output planning should prioritize effect and comfort, not maximum brightness. For this category, a reliable guideline is low to medium output to define edges without causing eye strain during conversation or dining.
In professional systems, designers tune output with fixture selection, lensing, aiming, and spacing together. This layered approach reduces glare and preserves nighttime depth.
downward linear spread with controlled cut-off to keep light on walking surfaces rather than in eye lines. Beam angle should always be matched to target size, throw distance, and viewer position.
Where beam angle is not the primary variable, optical control still matters through shielding, cutoff strategy, and scene zoning. The objective is predictable light distribution without visual noise.
brass and bronze for long-term exterior durability, aluminum for selective zones where service access is straightforward. Material choice should be evaluated against environment, service interval expectations, and lifecycle cost rather than upfront hardware cost alone.
In coastal and high-moisture Long Island conditions, corrosion resistance and seal quality are often more important than initial appearance. Fixtures that maintain alignment and finish quality tend to preserve curb appeal over time.
check fixture seals, clear debris in recesses, confirm alignment after freeze-thaw cycles, and verify wire protection at wall transitions. Preventive maintenance protects both performance and appearance, especially where irrigation, leaf drop, and winter weather affect components.
A documented maintenance schedule also makes troubleshooting faster and reduces costly guesswork when homeowners expand or modify their lighting plan.
placing fixtures only for symmetry instead of safety, using too-bright output on step faces, and skipping nighttime aiming. Another frequent issue is choosing fixture count before defining the visual objective for each zone.
DIY layouts also often skip nighttime aiming and post-install refinement. Professional adjustments after dark are usually the difference between a passable system and a polished one.
pair hardscape layers with nearby spot and path lighting so walls and treads read as one composition. Designers should also map service access so every critical component can be maintained without invasive rework.
For higher-end Long Island properties, the most reliable strategy is layered design: circulation lighting, architectural emphasis, and landscape depth working together with consistent color and controlled output.
Long Island projects frequently include narrow side yards, long front setbacks, mature evergreen screening, and mixed masonry surfaces. For hardscape lights, design should account for salt exposure, irrigation habits, and seasonal foliage changes that affect beam paths and perceived brightness.
In Suffolk County estates and Nassau infill lots alike, the strongest outcomes come from scenario-based planning: arrival sequence, entertaining sequence, and late-night safety sequence. Each scenario should be evaluated independently so the same fixture layer performs well in everyday use and special events.
Final installation cost is influenced by more than fixture count. Wire routing, transformer headroom, trenching difficulty, mounting method, and service-access planning all affect scope. With hardscape lights, clean planning up front usually prevents expensive revisions later.
Professional proposals typically include fixture intent, zone strategy, and expansion paths so homeowners can phase improvements without redoing core infrastructure. This planning-first approach is especially important for Long Island properties where mature landscapes and finished hardscape limit easy rework.
Most are placed to wash down the wall face and nearby walking zone, with spacing adjusted for wall texture and height.
Step lights should be bright enough for safe foot placement but not so bright that they create glare or harsh contrast.
Many systems can be retrofitted, but access, masonry type, and wire routing determine feasibility.
Start with function and viewing angles, then choose materials, optics, and output that support those goals. A design consultation helps align fixture style with architecture and landscape context.
In many Long Island installations, brass can improve long-term durability and finish stability, especially in exposed or coastal environments.
usually 2700K to keep masonry warm and blend with surrounding landscape accents and architectural lighting
Use controlled optics, proper aiming, and tested nighttime sightlines from common viewing positions such as entry doors, patios, and windows.
use consistent rhythm across stairs and walls, adjusting intervals for wall texture, tread depth, and seating orientation
check fixture seals, clear debris in recesses, confirm alignment after freeze-thaw cycles, and verify wire protection at wall transitions
placing fixtures only for symmetry instead of safety, using too-bright output on step faces, and skipping nighttime aiming
Usually yes, but compatibility depends on circuit capacity, voltage planning, and whether existing controls can support the revised layout.
They balance fixture count, optics, aiming, and scene hierarchy, then refine in live nighttime conditions rather than finalizing from daytime assumptions.
The core lighting principles stay the same, but lot size, architectural style, and landscape density often differ, so spacing, optics, and zoning should be site-specific.
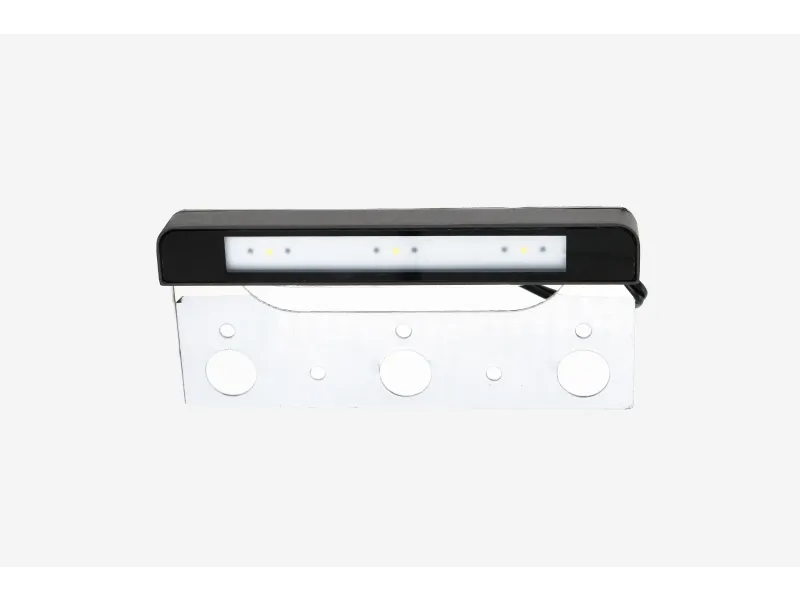
LumienCORE
Hardscape / Wall Lights
$$
Ask About This Fixture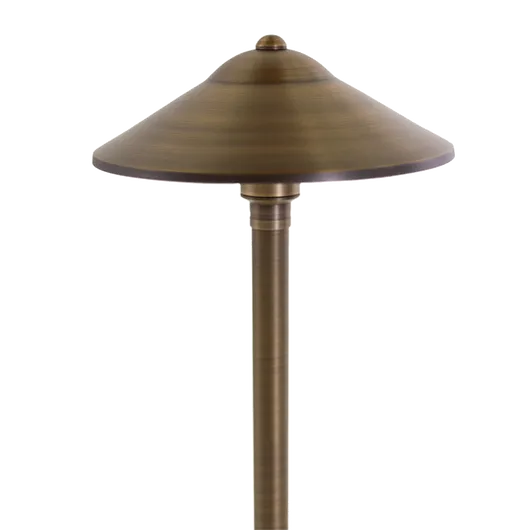
Volt
Path Lights
$$
Ask About This Fixture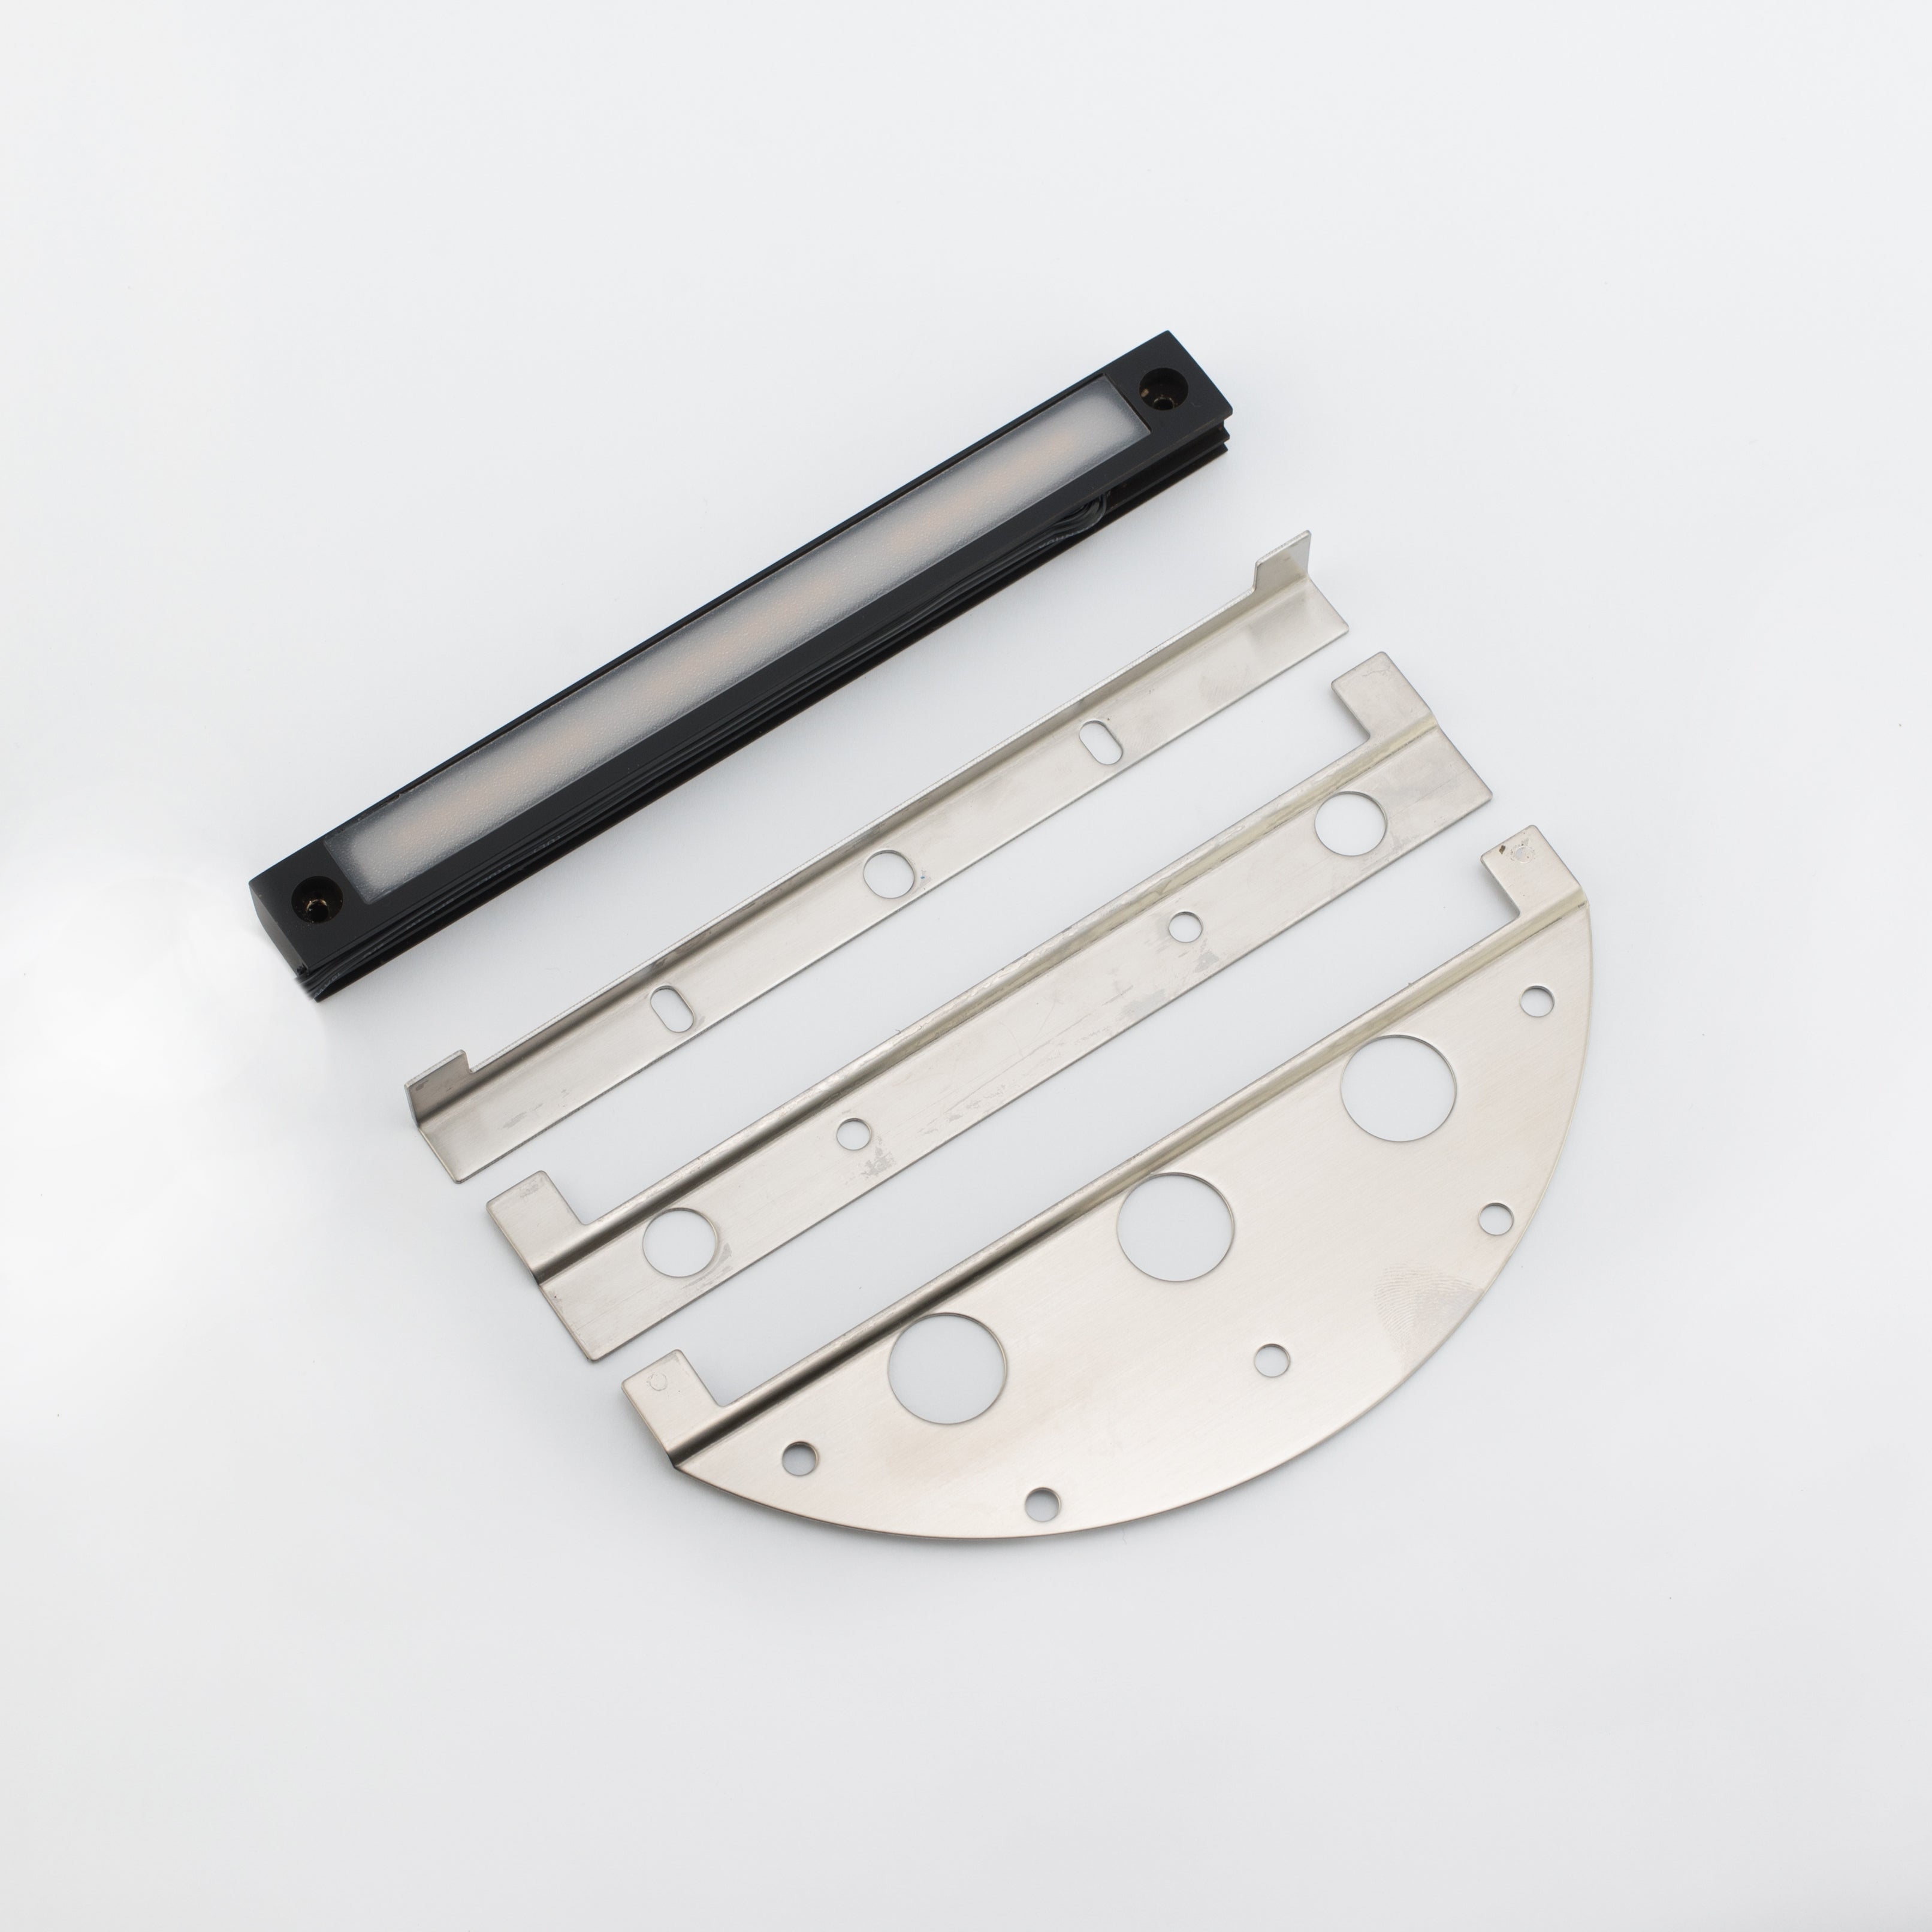
Sterling Lighting
Path Lights
$
Ask About This Fixture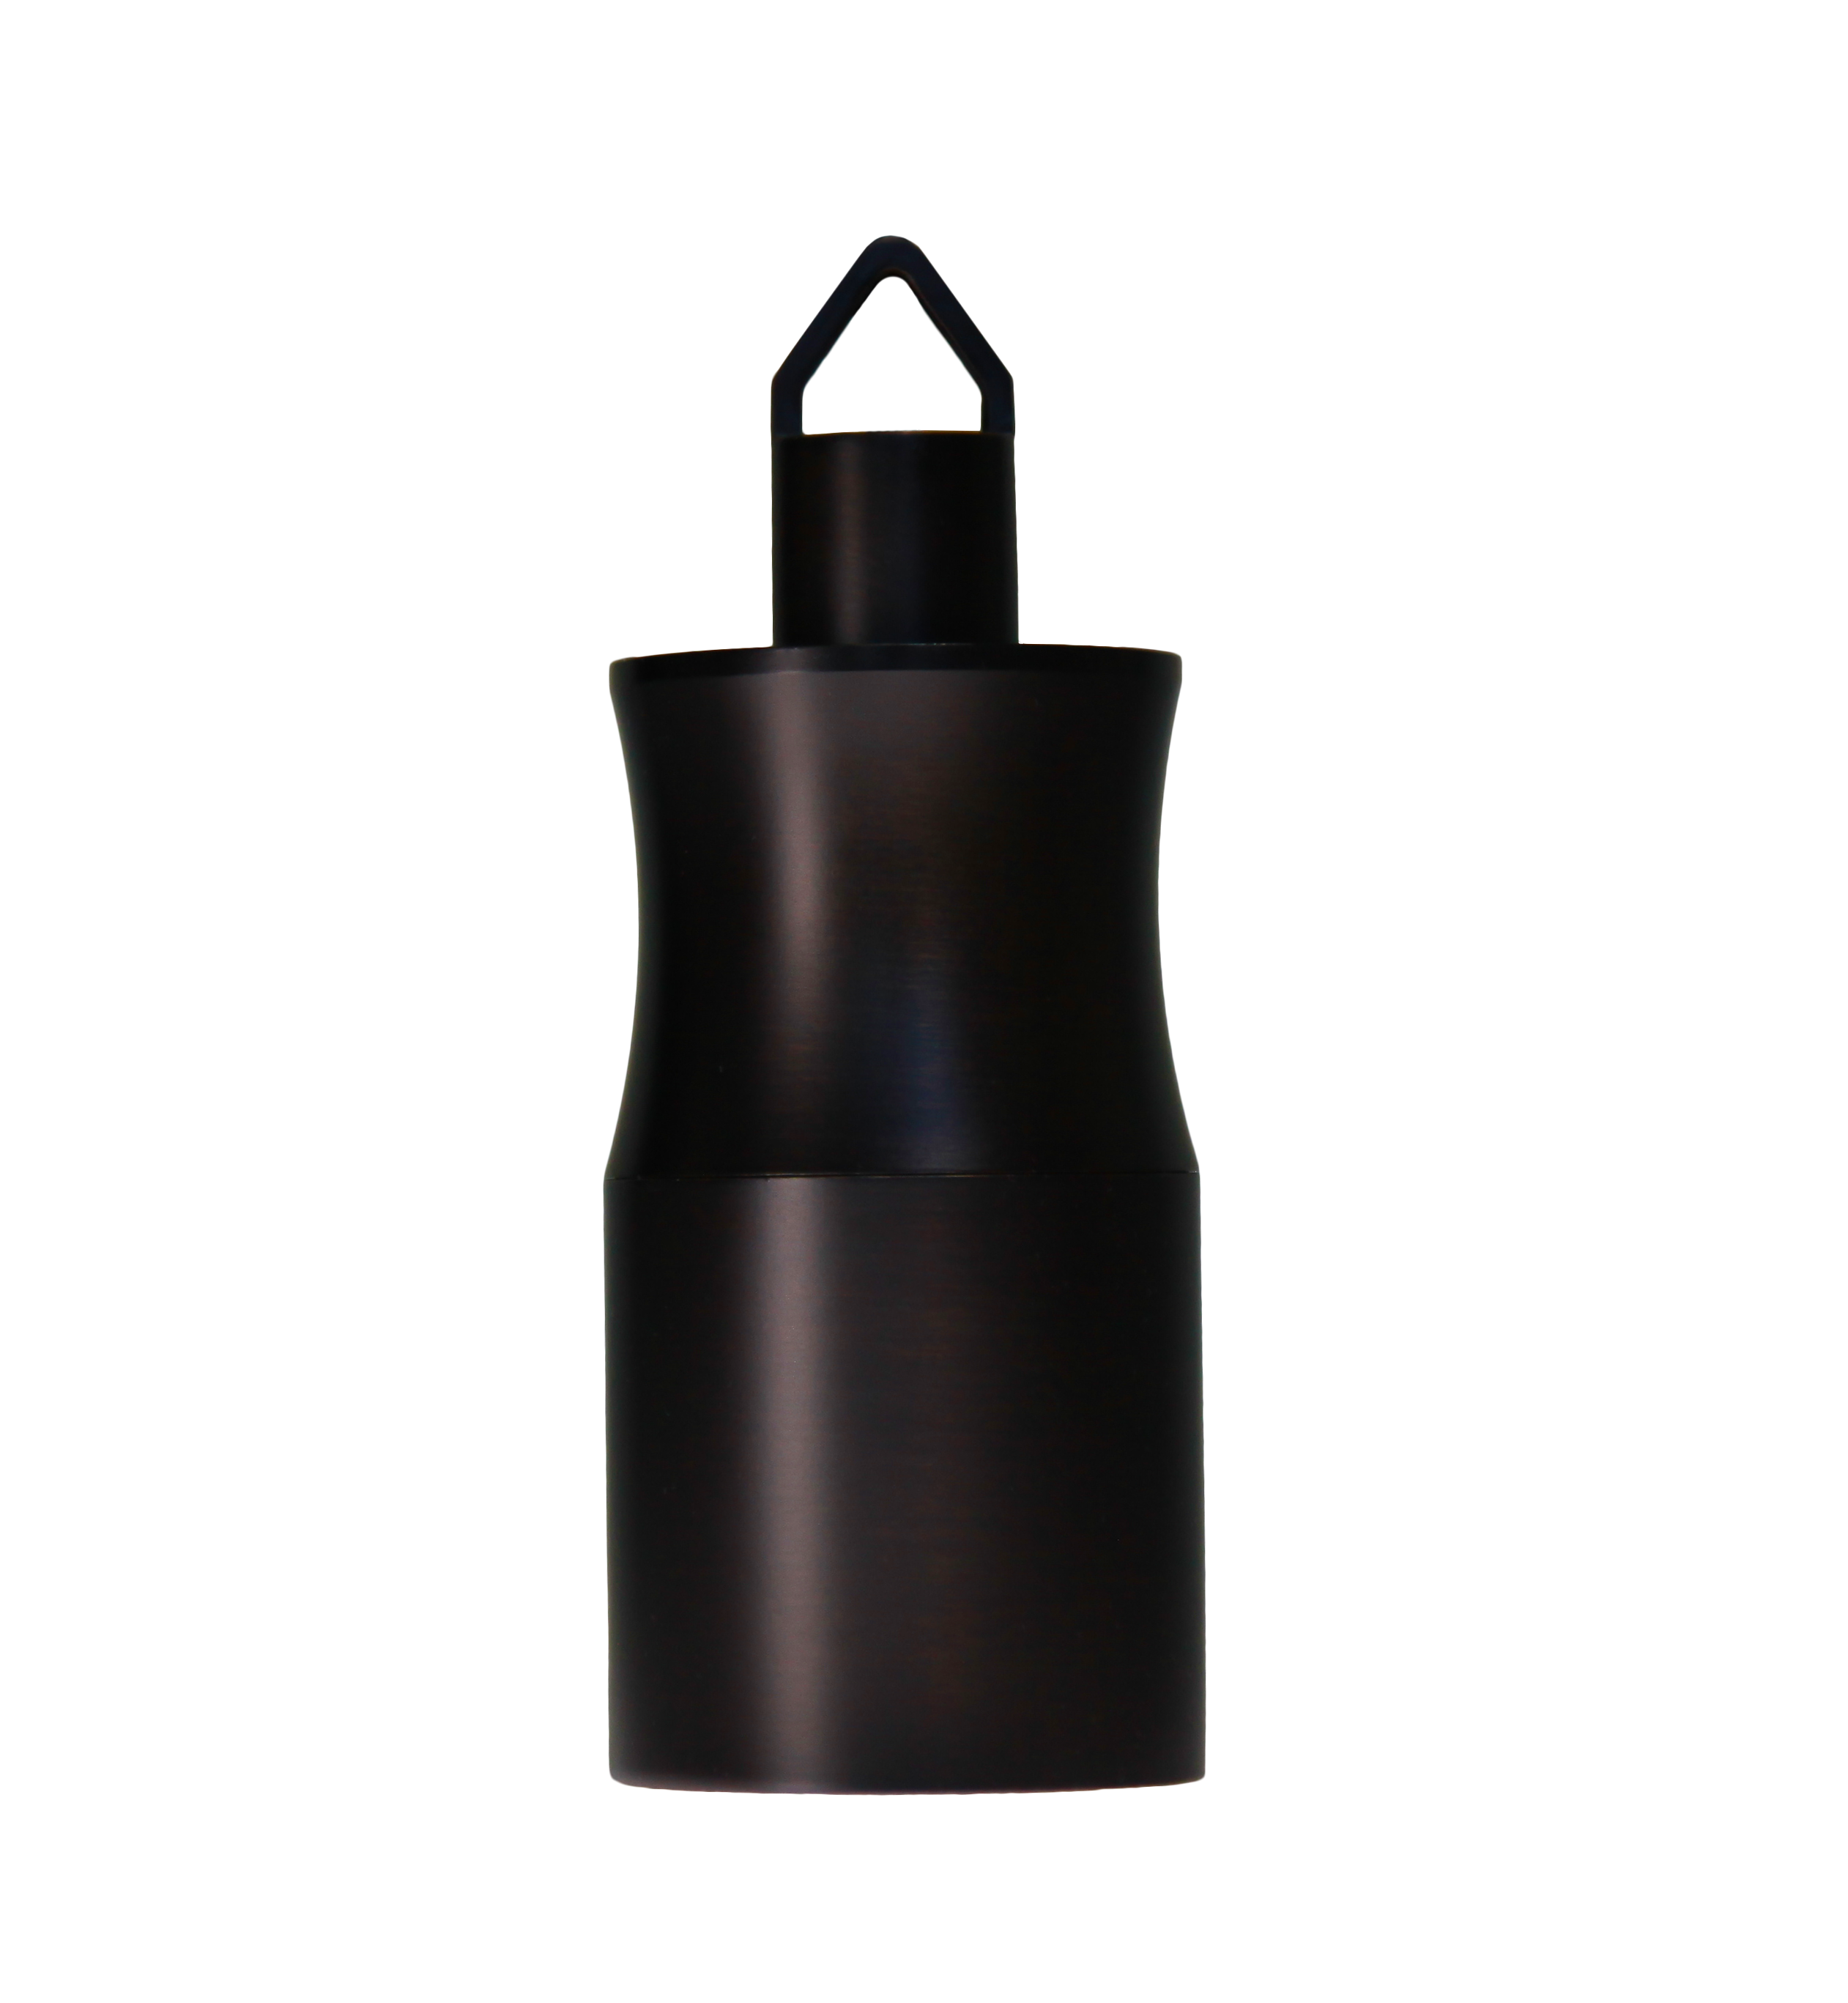
Sterling Lighting
Well Lights
$
Ask About This Fixture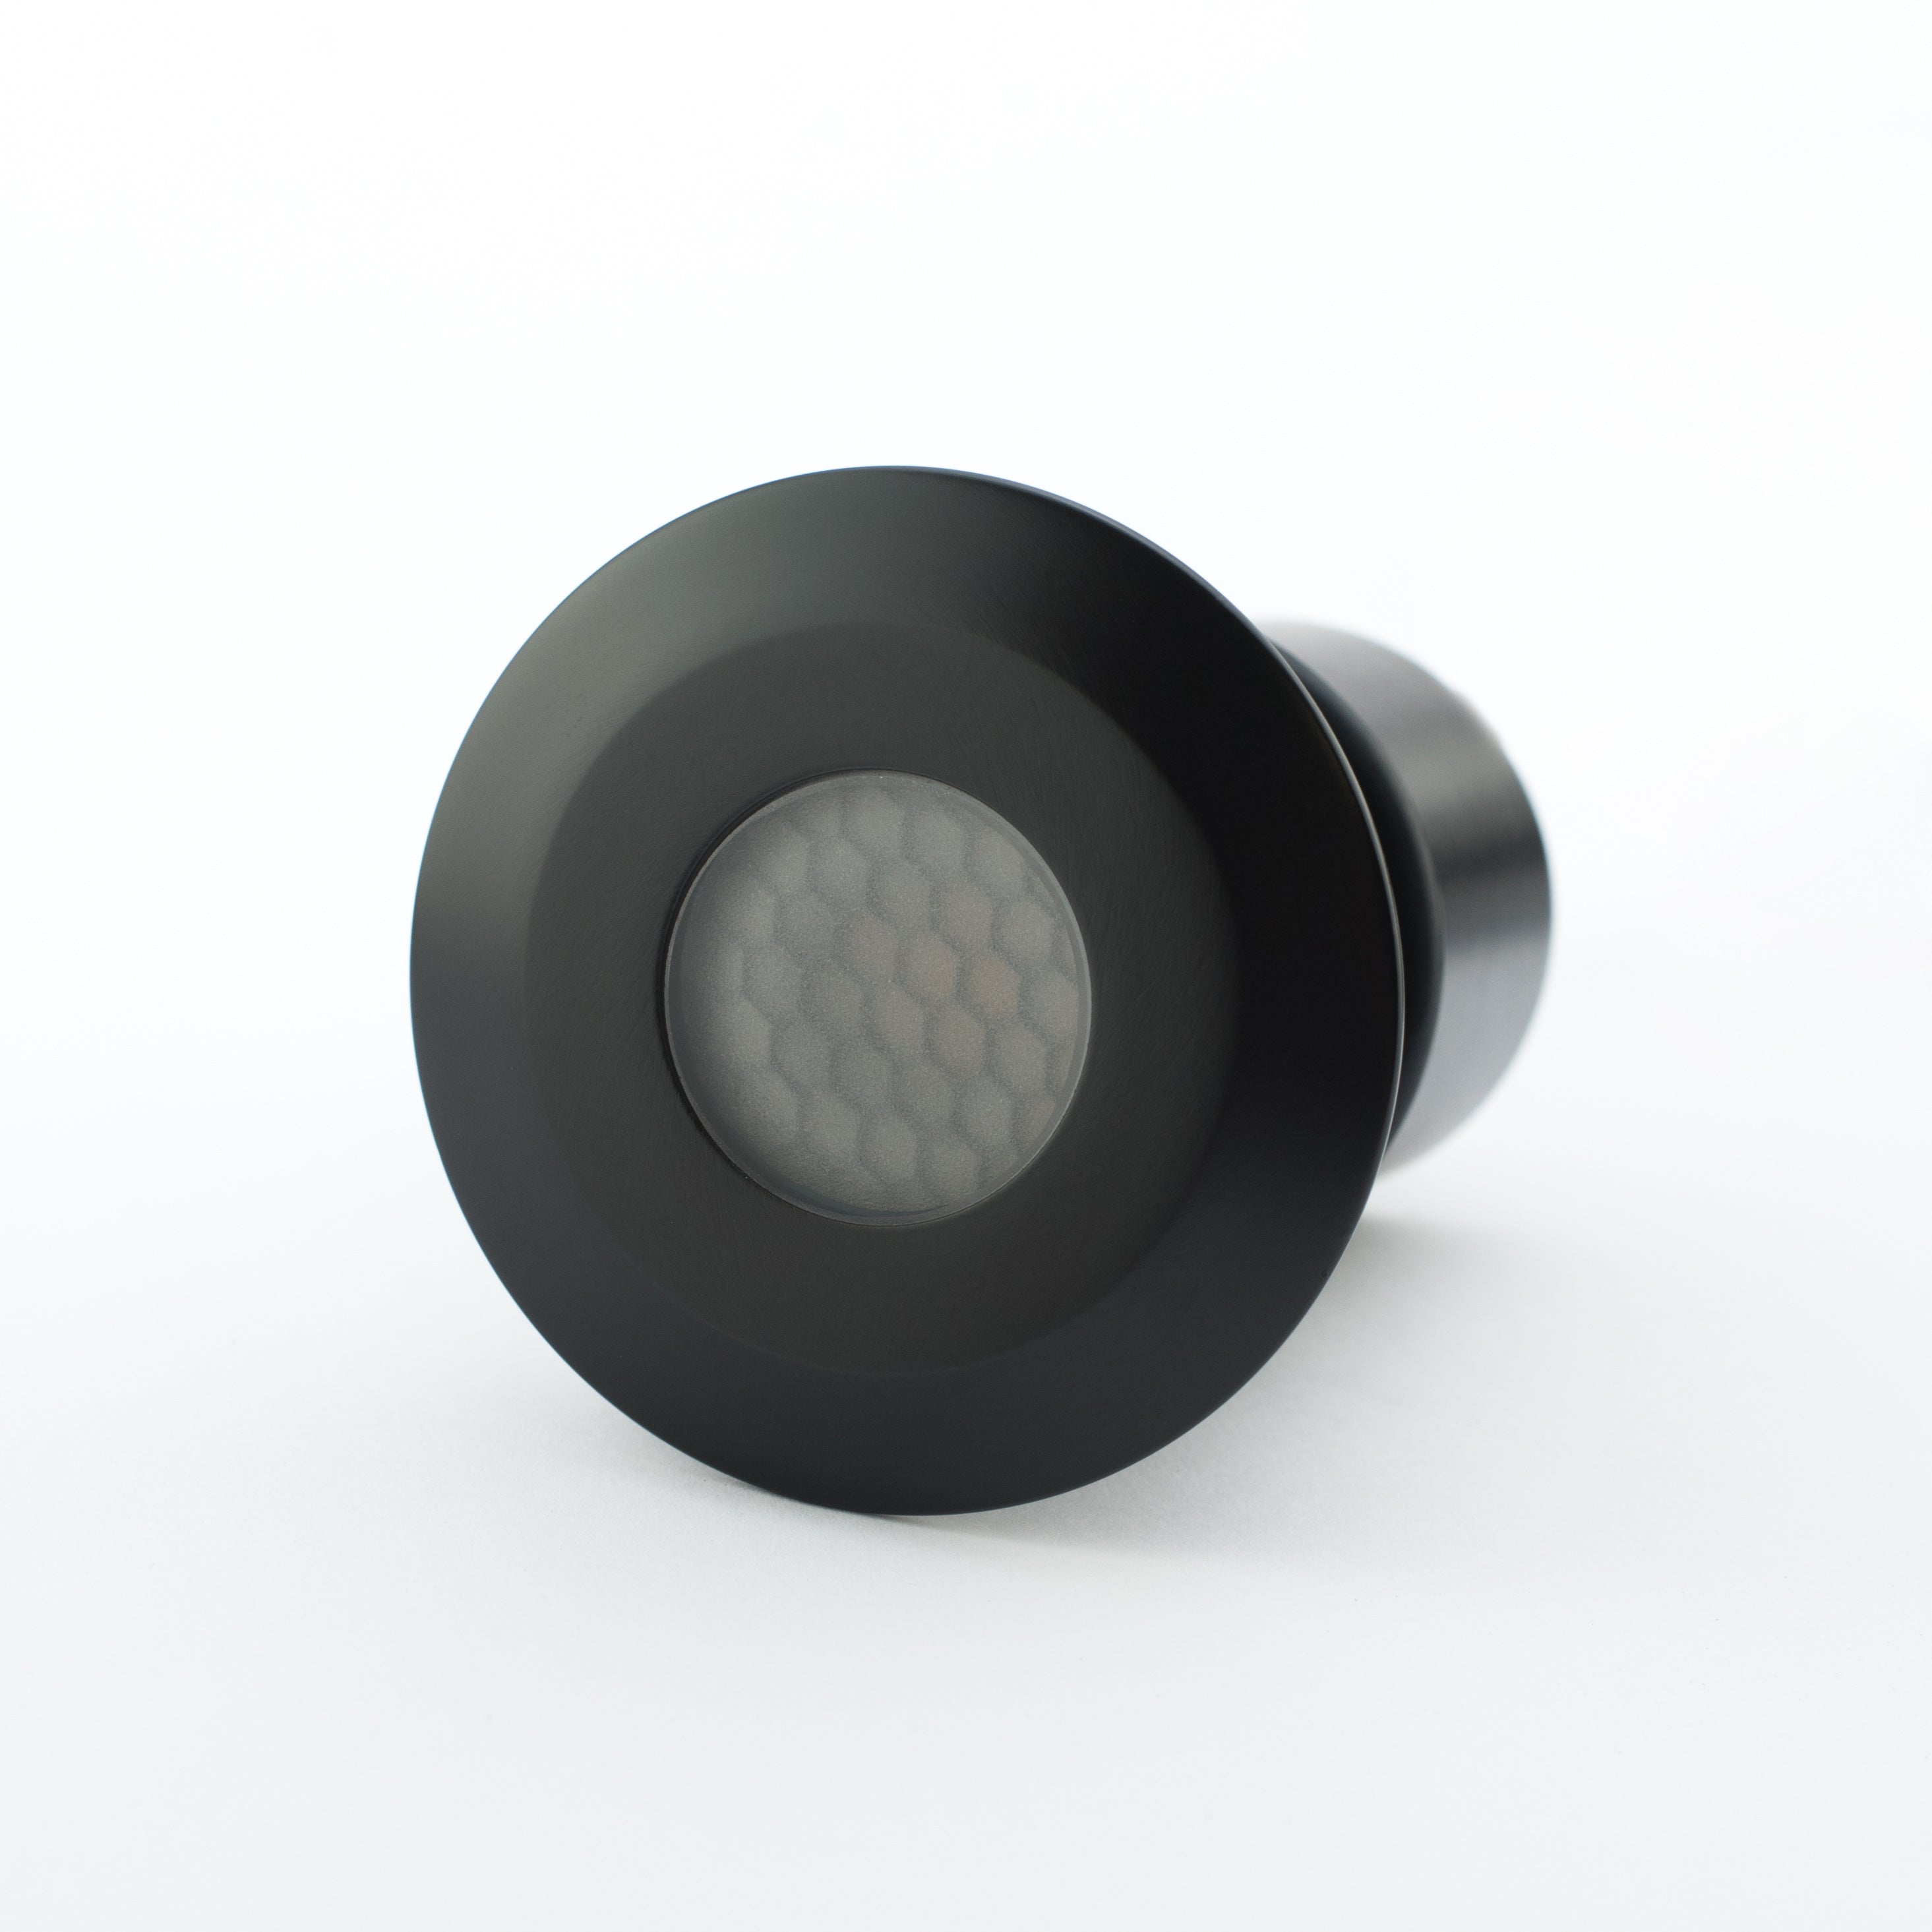
Sterling Lighting
Hardscape / Wall Lights
$$$
Ask About This Fixture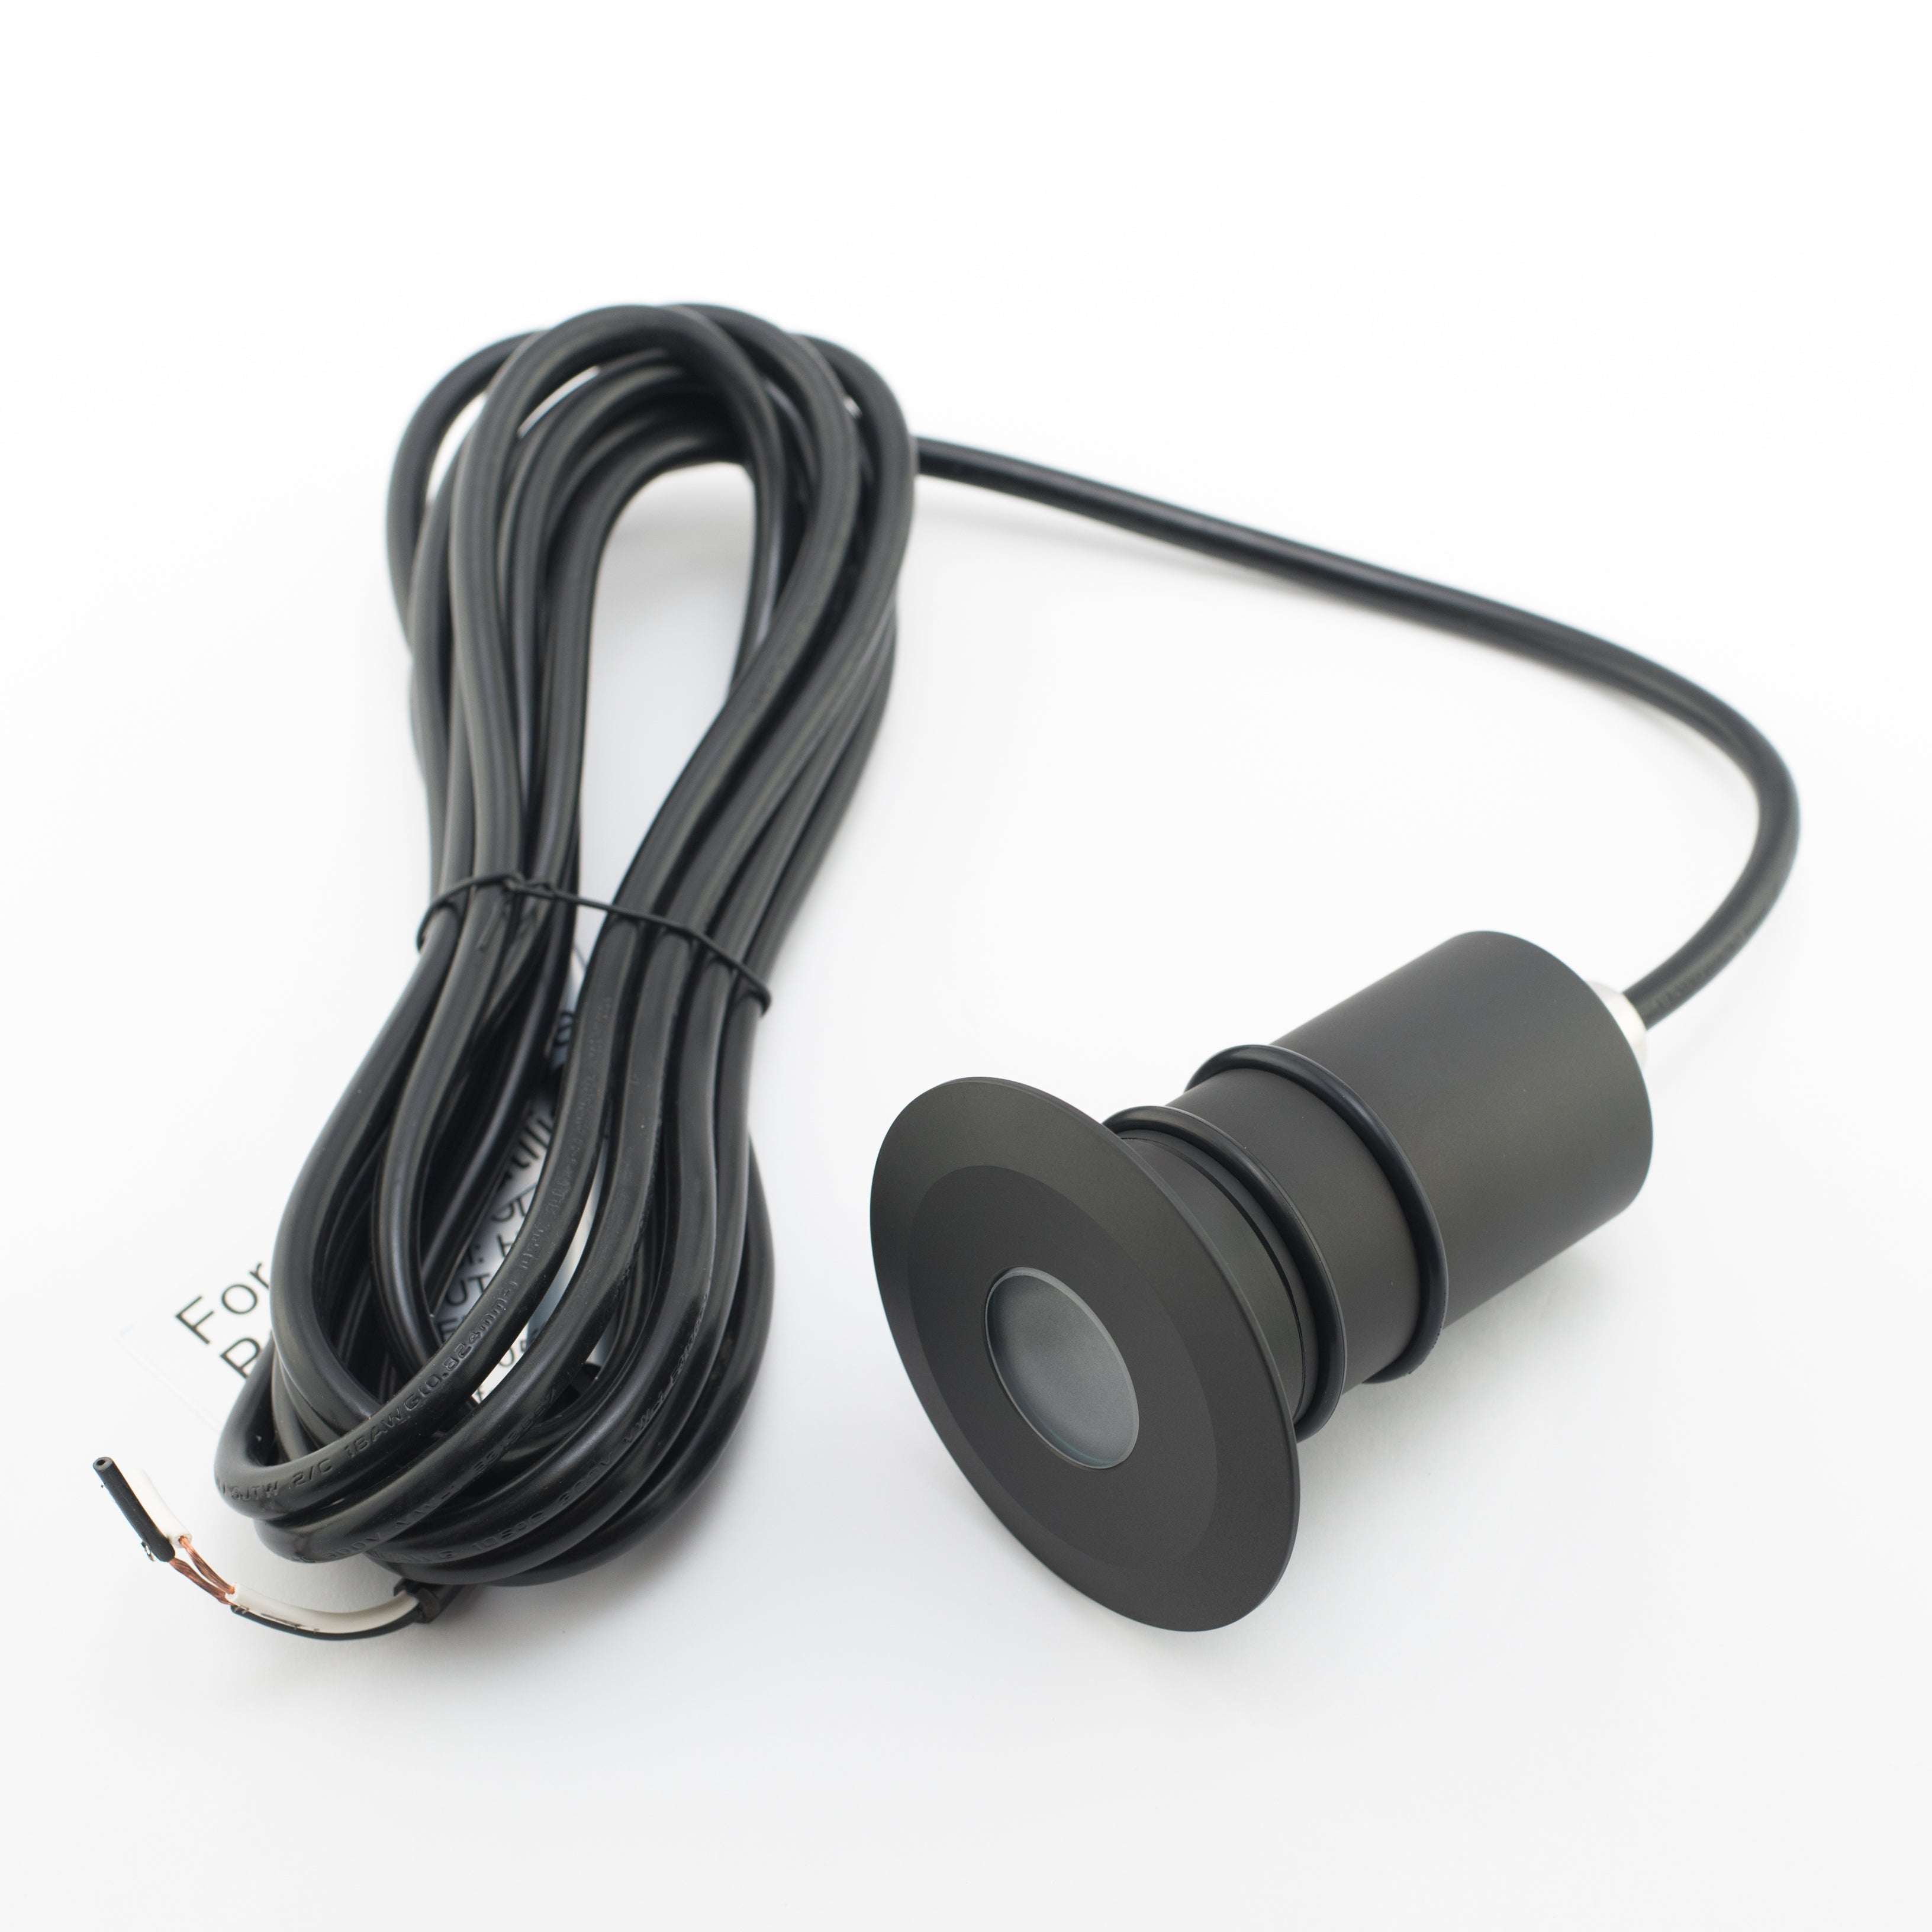
Sterling Lighting
Spotlights
$
Ask About This Fixture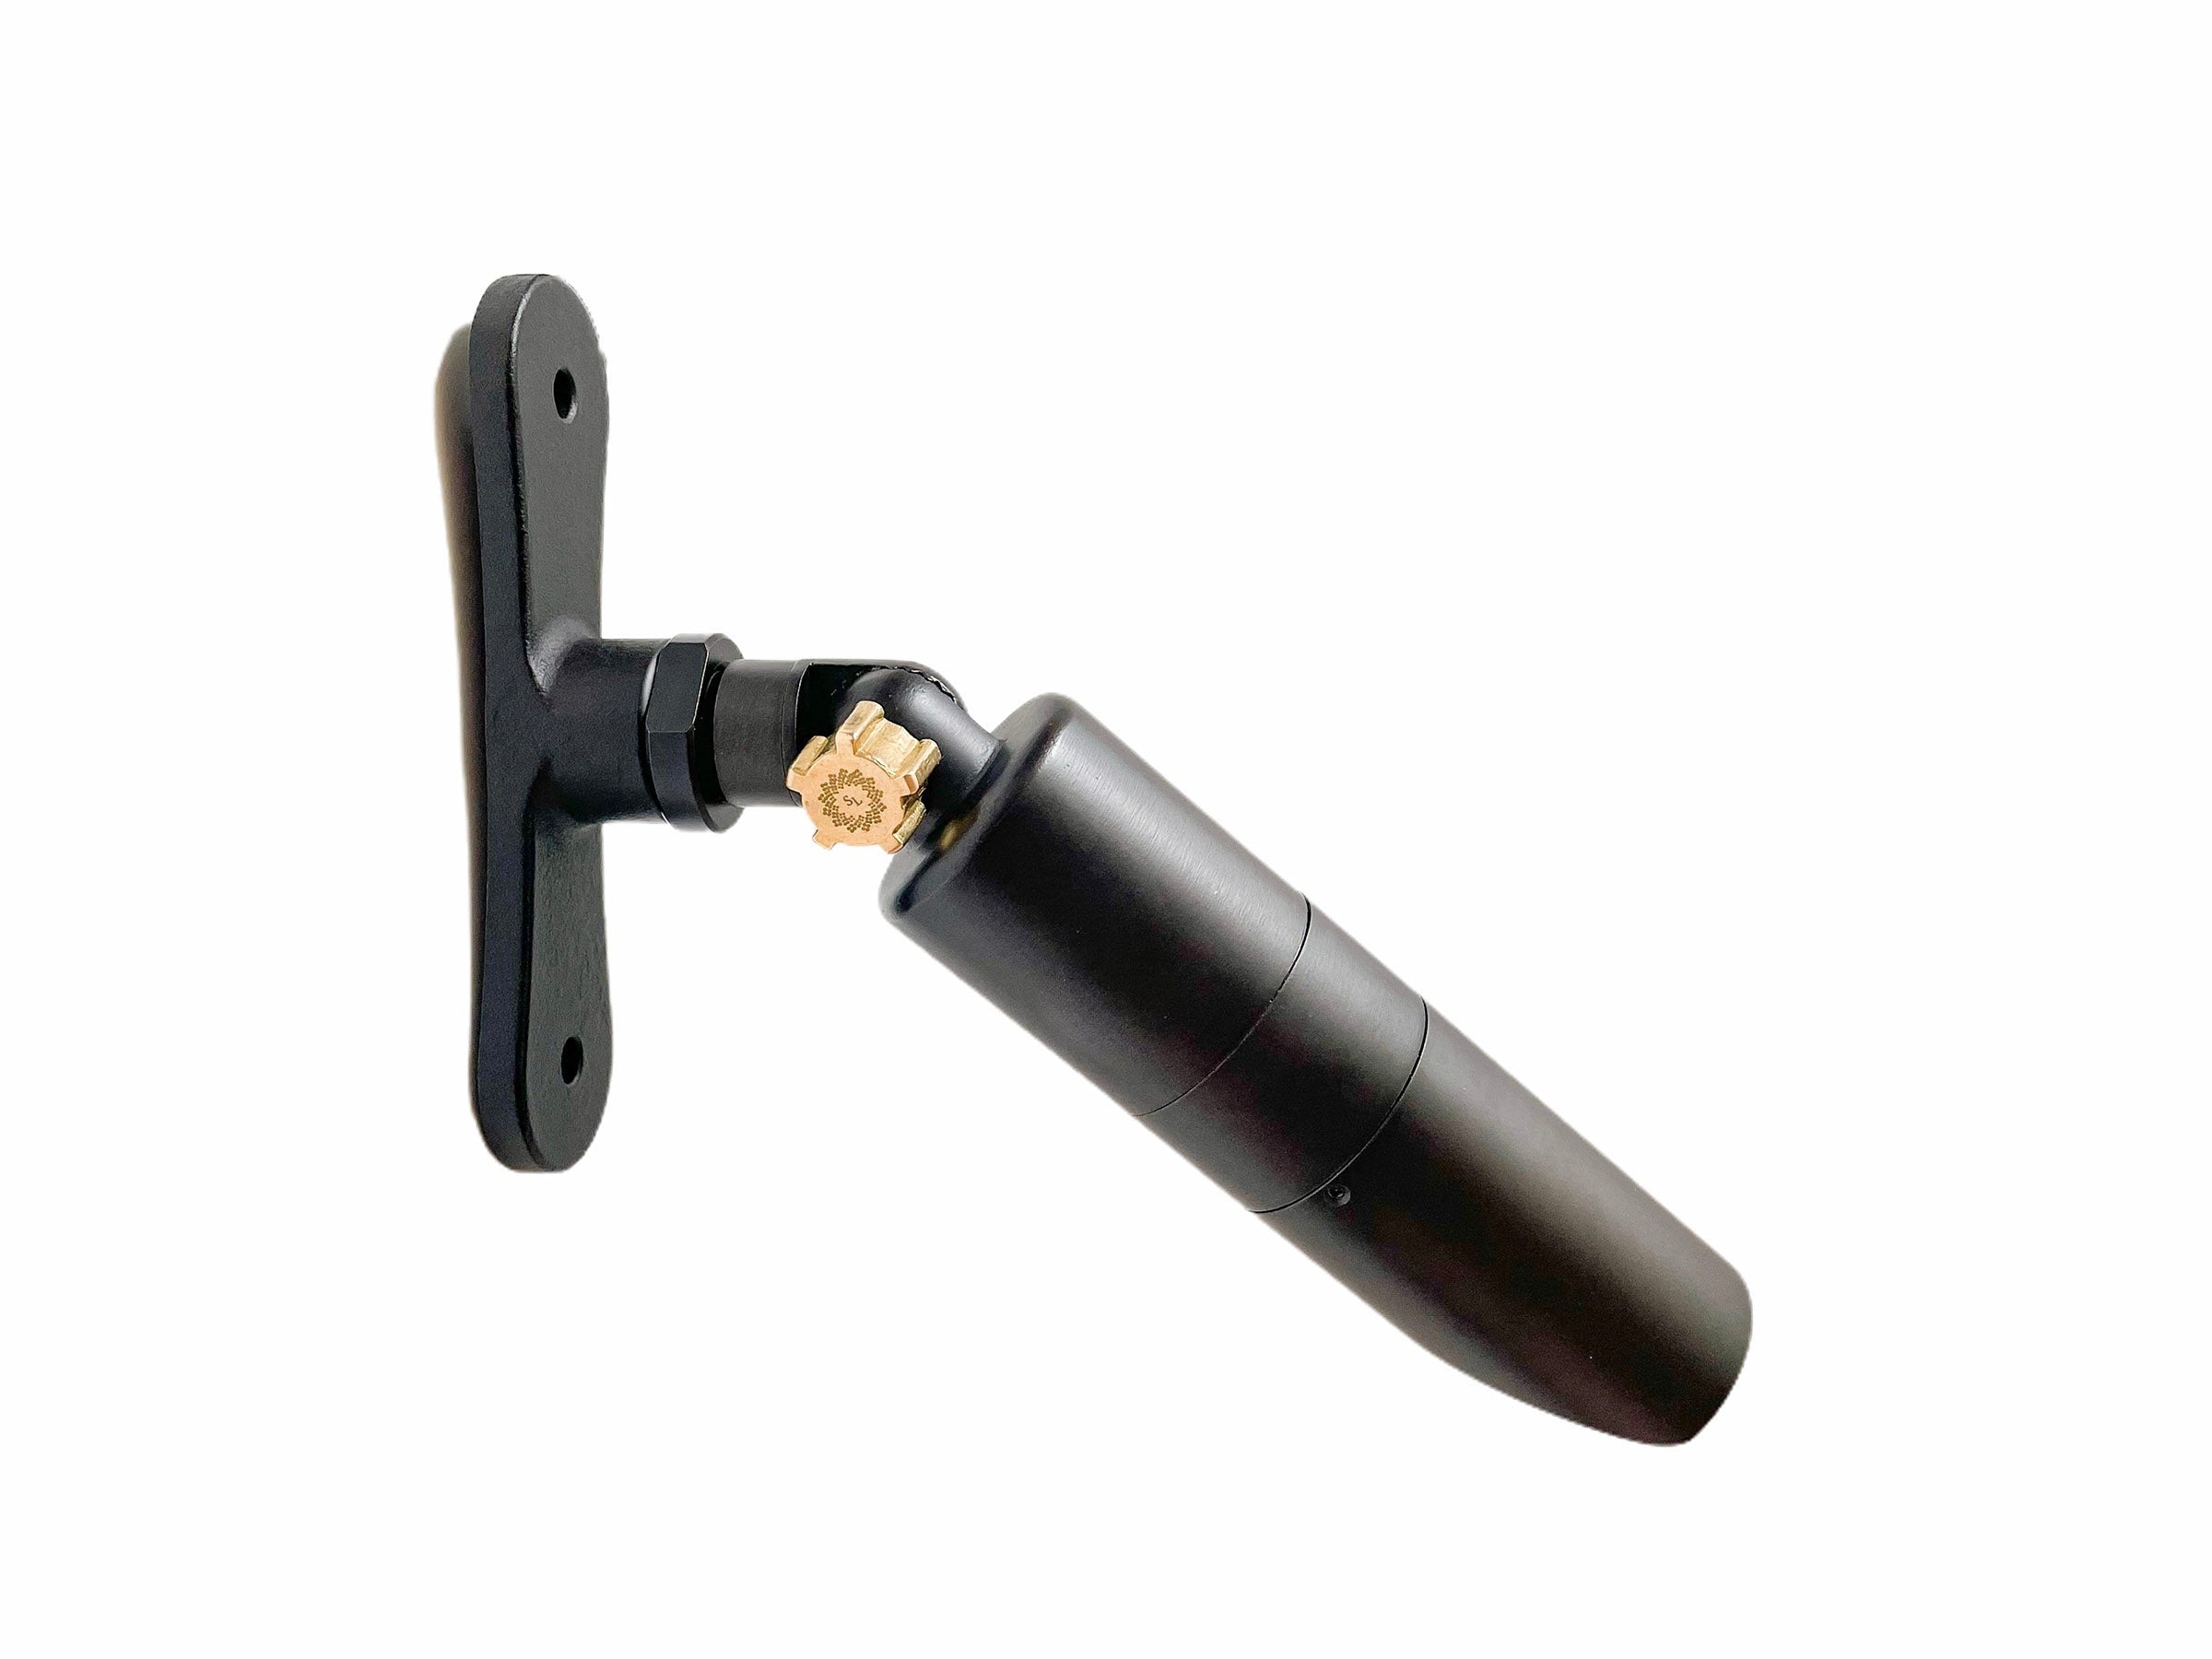
Sterling Lighting
Hardscape / Wall Lights
$$$
Ask About This Fixture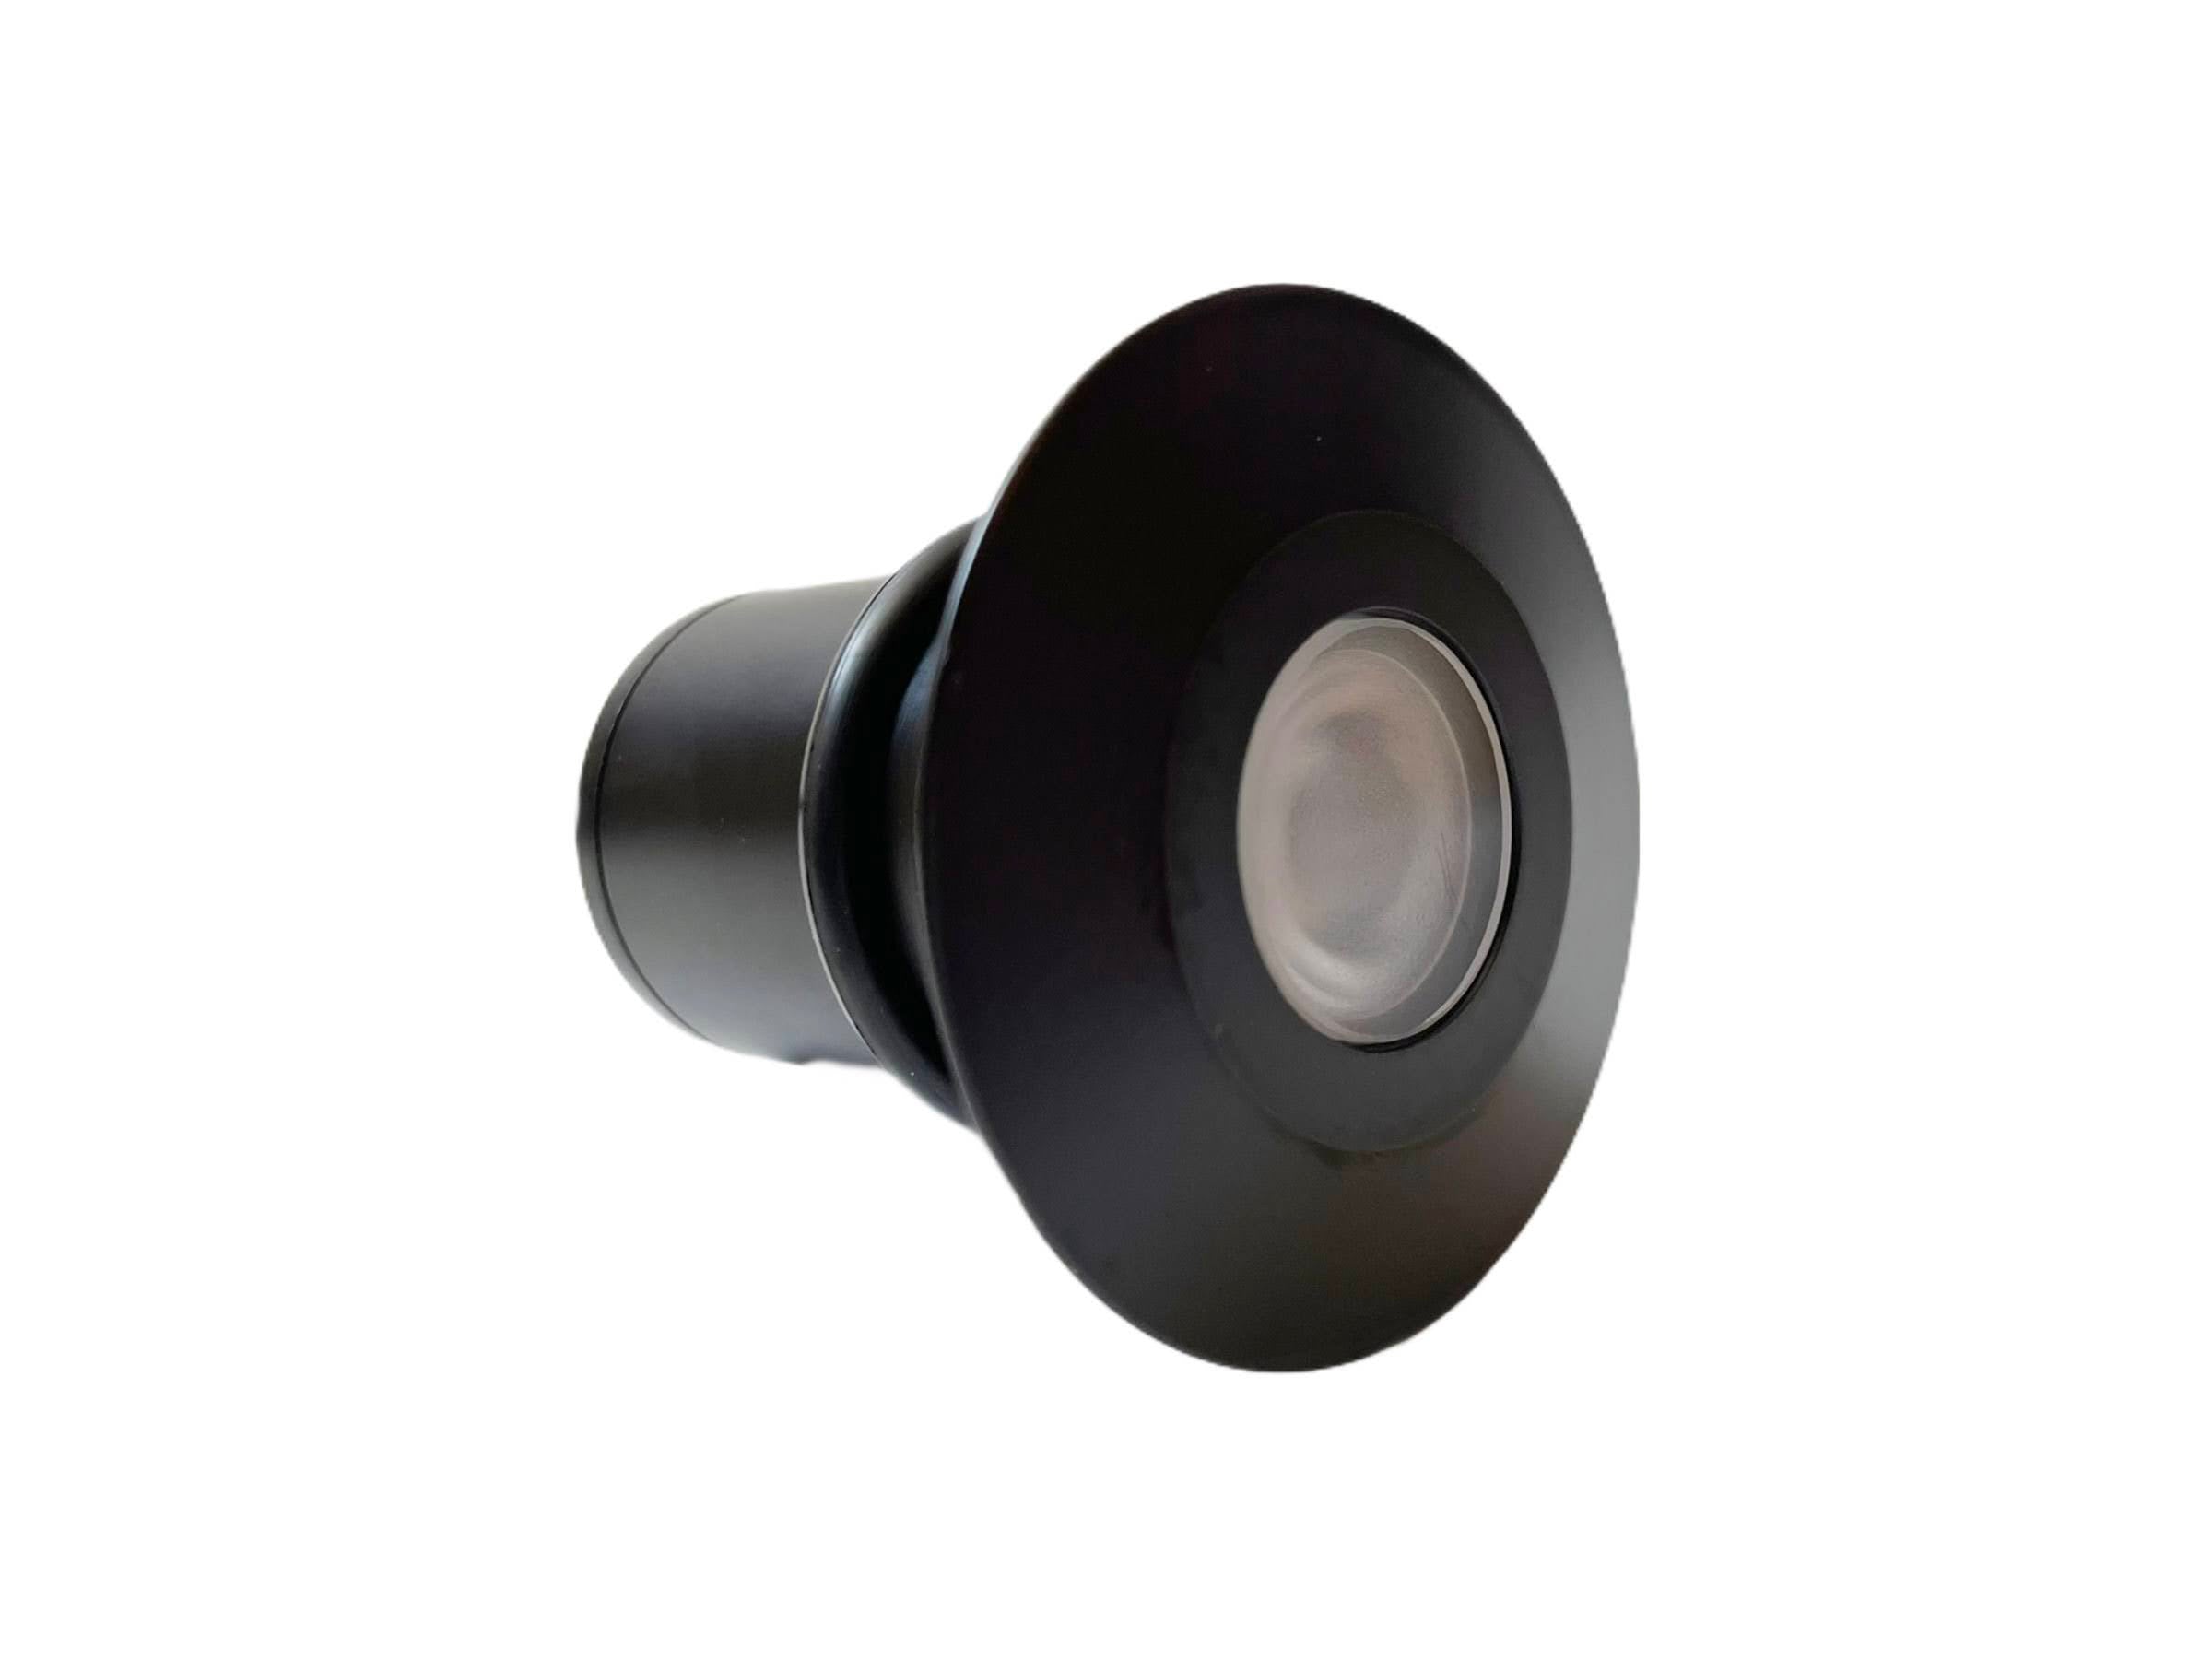
Sterling Lighting
Spotlights
$
Ask About This Fixture
Sterling Lighting
Spotlights
$
Ask About This Fixture
RAB Lighting
Hardscape / Wall Lights
$$$
Ask About This FixtureRAB Lighting
Spotlights
$$$
Ask About This Fixture
WAC Lighting
Hardscape / Wall Lights
$$
Ask About This FixtureWAC Lighting
Hardscape / Wall Lights
$
Ask About This FixtureWAC Lighting
Well Lights
$
Ask About This FixtureWAC Lighting
Specialty Fixtures
$
Ask About This FixtureLumien Lighting
Spotlights
$$$
Ask About This FixtureNeed Help Choosing Fixtures?
We help homeowners across Long Island compare fixture styles, materials, beam control, and placement without relying on one-size-fits-all assumptions.
Ready to upgrade your outdoor lighting?
Oasis Lighting Design delivers custom low-voltage landscape lighting across Huntington and Long Island, with consultation, design, installation, and ongoing service. Oasis Lighting Design is a Long Island outdoor lighting and landscape lighting company.
Premium Lighting Partners
See the brands we trust for FX Luminaire, Kichler, WAC, RAB, Sterling, and more.
From premium outdoor luminaires to smart accessories, these suppliers help us deliver reliable, high-performing custom outdoor lighting across the Island.
Pricing Guide
Review our pricing guide for design, installation, and upgrade packages.