Thoughtful outdoor lighting ideas, project highlights, and practical guidance for Long Island homes.
How We Install Low Voltage Landscape Lighting
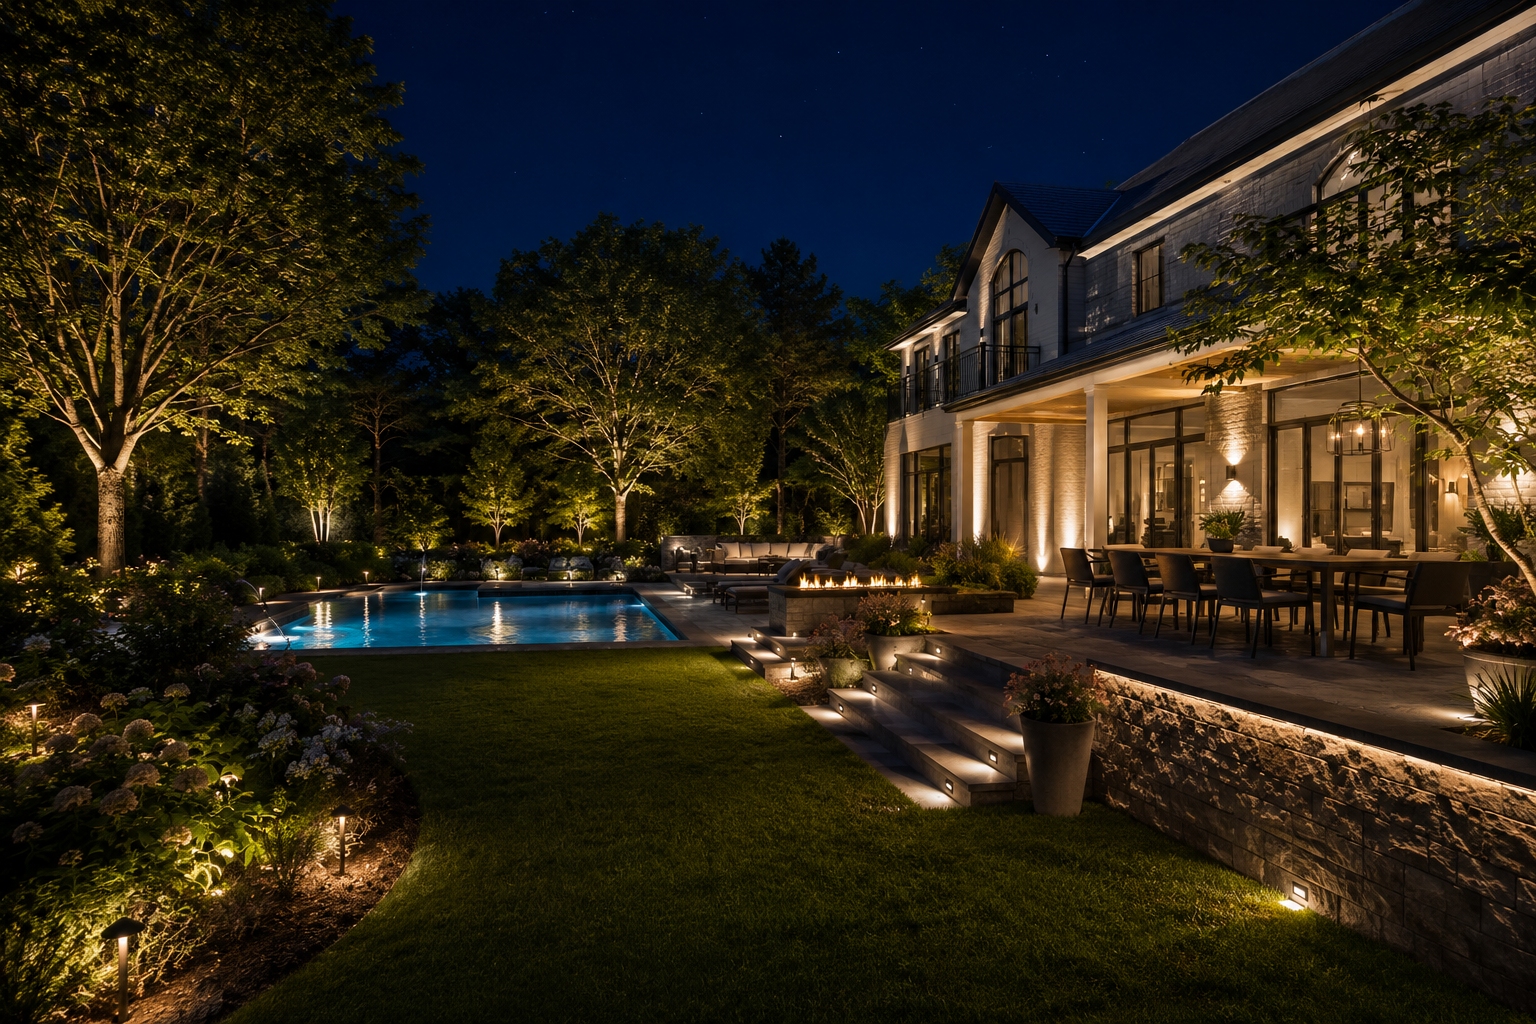
At Oasis Lighting Design, every low voltage lighting project starts with the same goal: create a clean, elegant nighttime look that improves curb appeal, visibility, and outdoor enjoyment without over-lighting the property.
What We Plan Before Installation
Before we install anything, we map out the lighting effect fixture by fixture. We look at the architecture, planting beds, entrances, walkways, and gathering areas to decide where light should be seen and where it should stay subtle.
What We Evaluate on Site
Before installation, we confirm:
- Transformer location and voltage needs
- Fixture spacing and beam direction
- Cable paths that preserve the landscape
- Key views from the street, driveway, and outdoor living areas
Installation Steps
1. Layout and Fixture Positioning
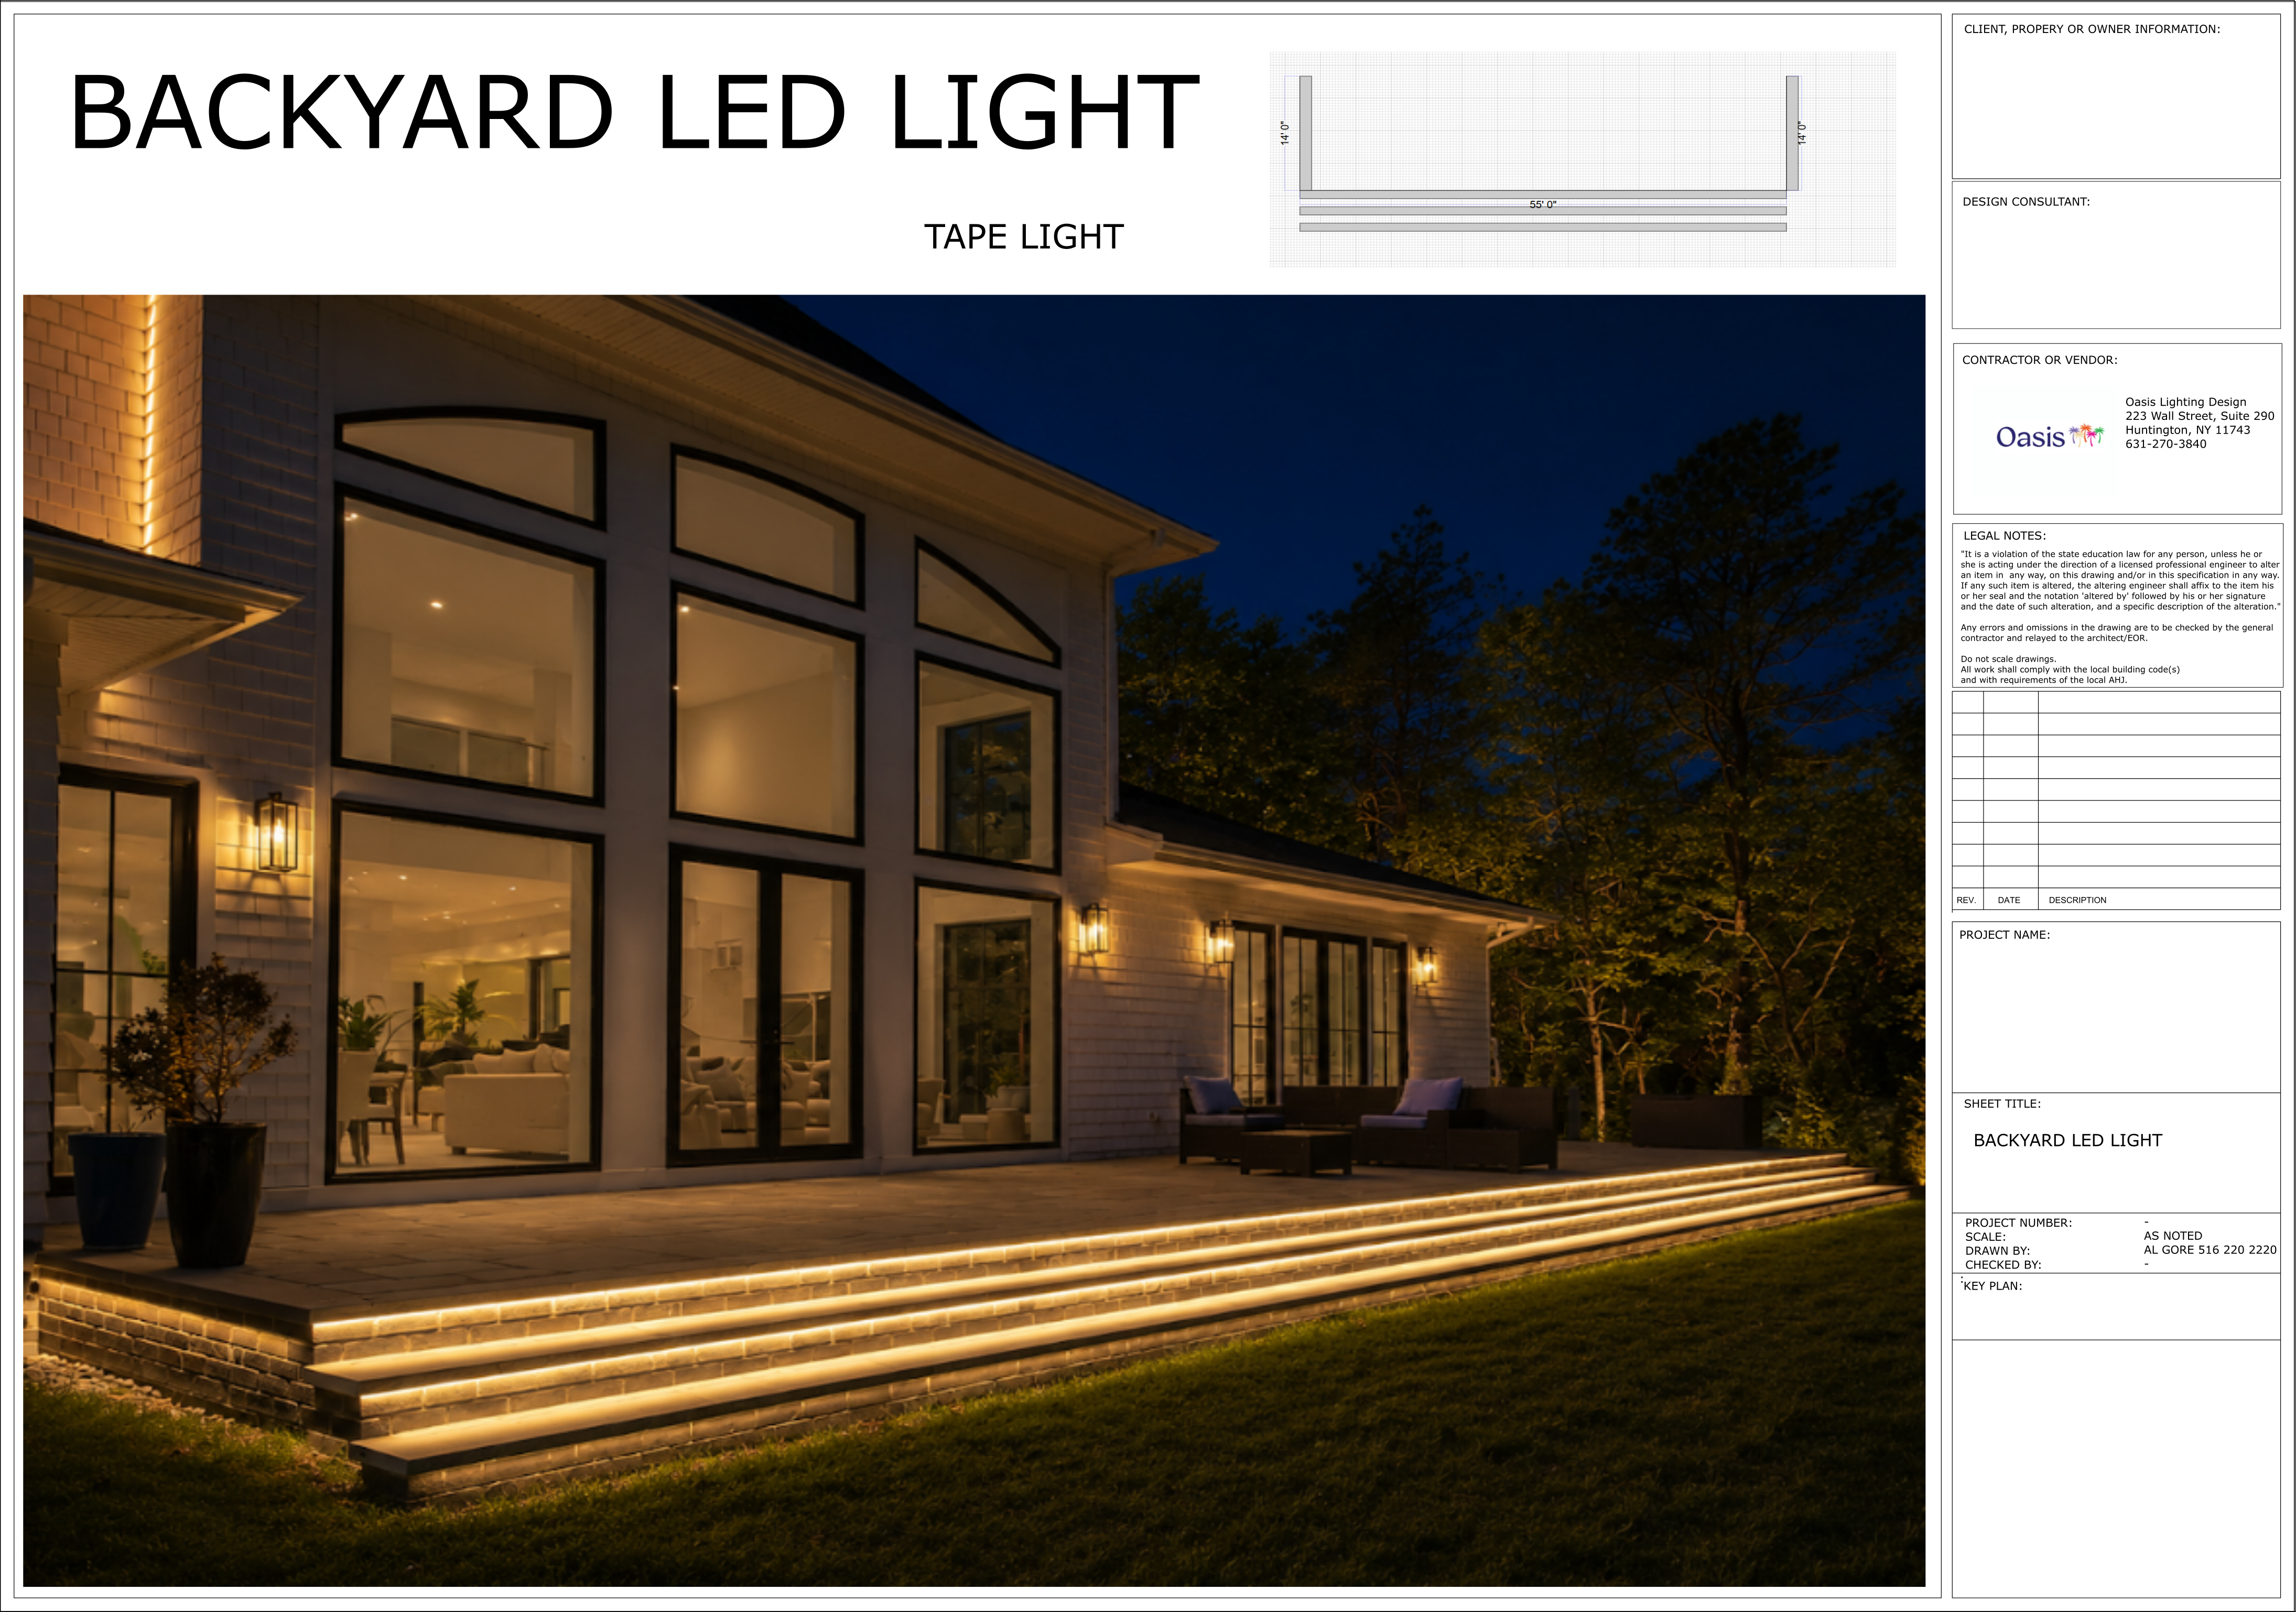
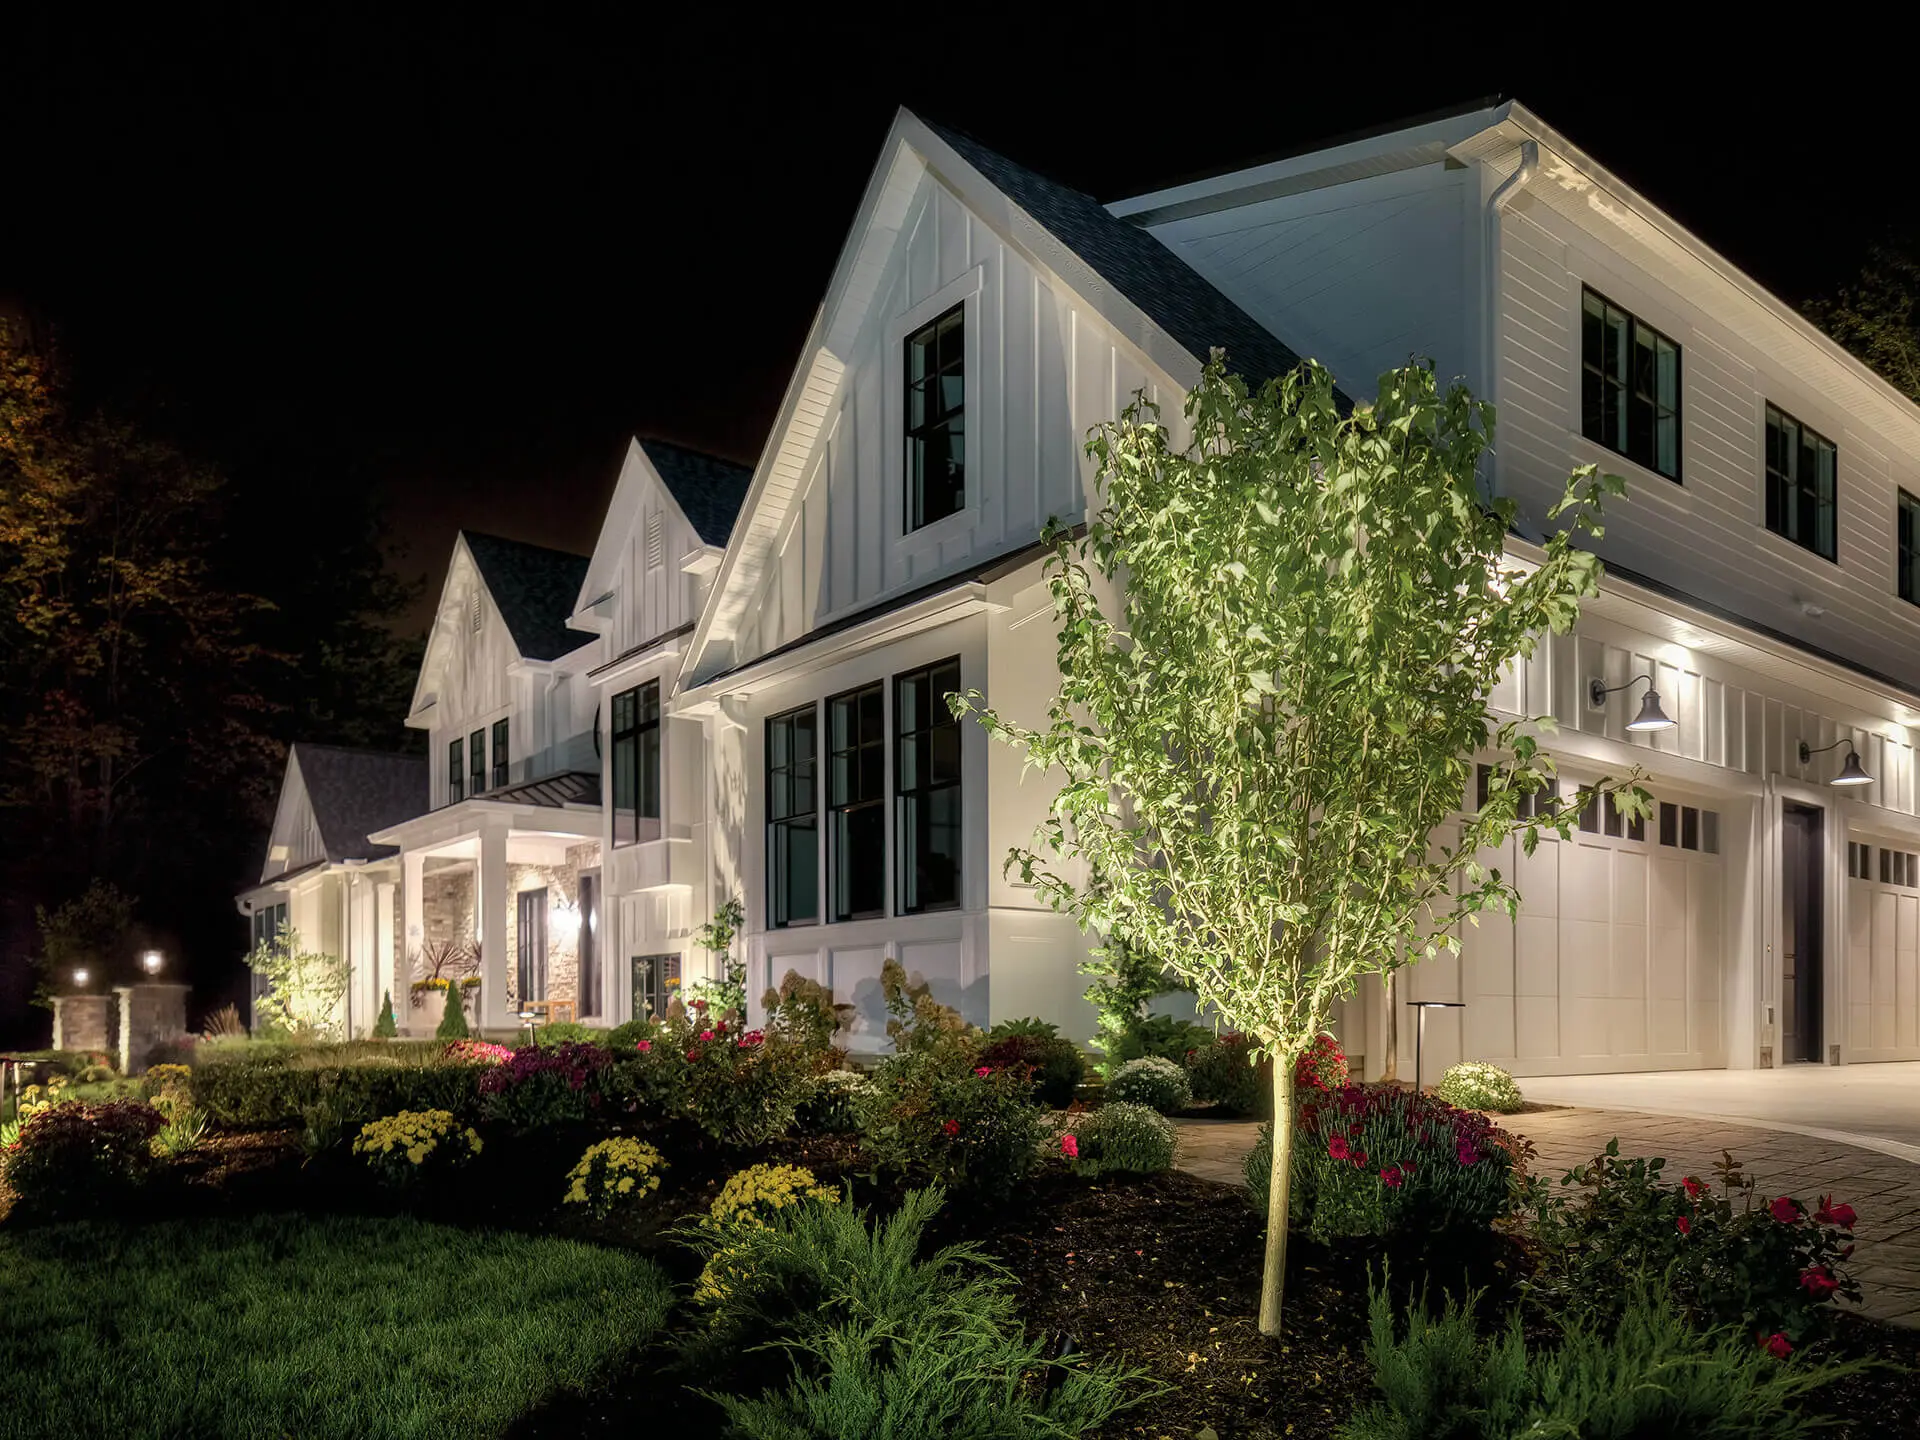
We stage each fixture to highlight the right surfaces, plant material, and architectural lines. The goal is depth and contrast, not glare.
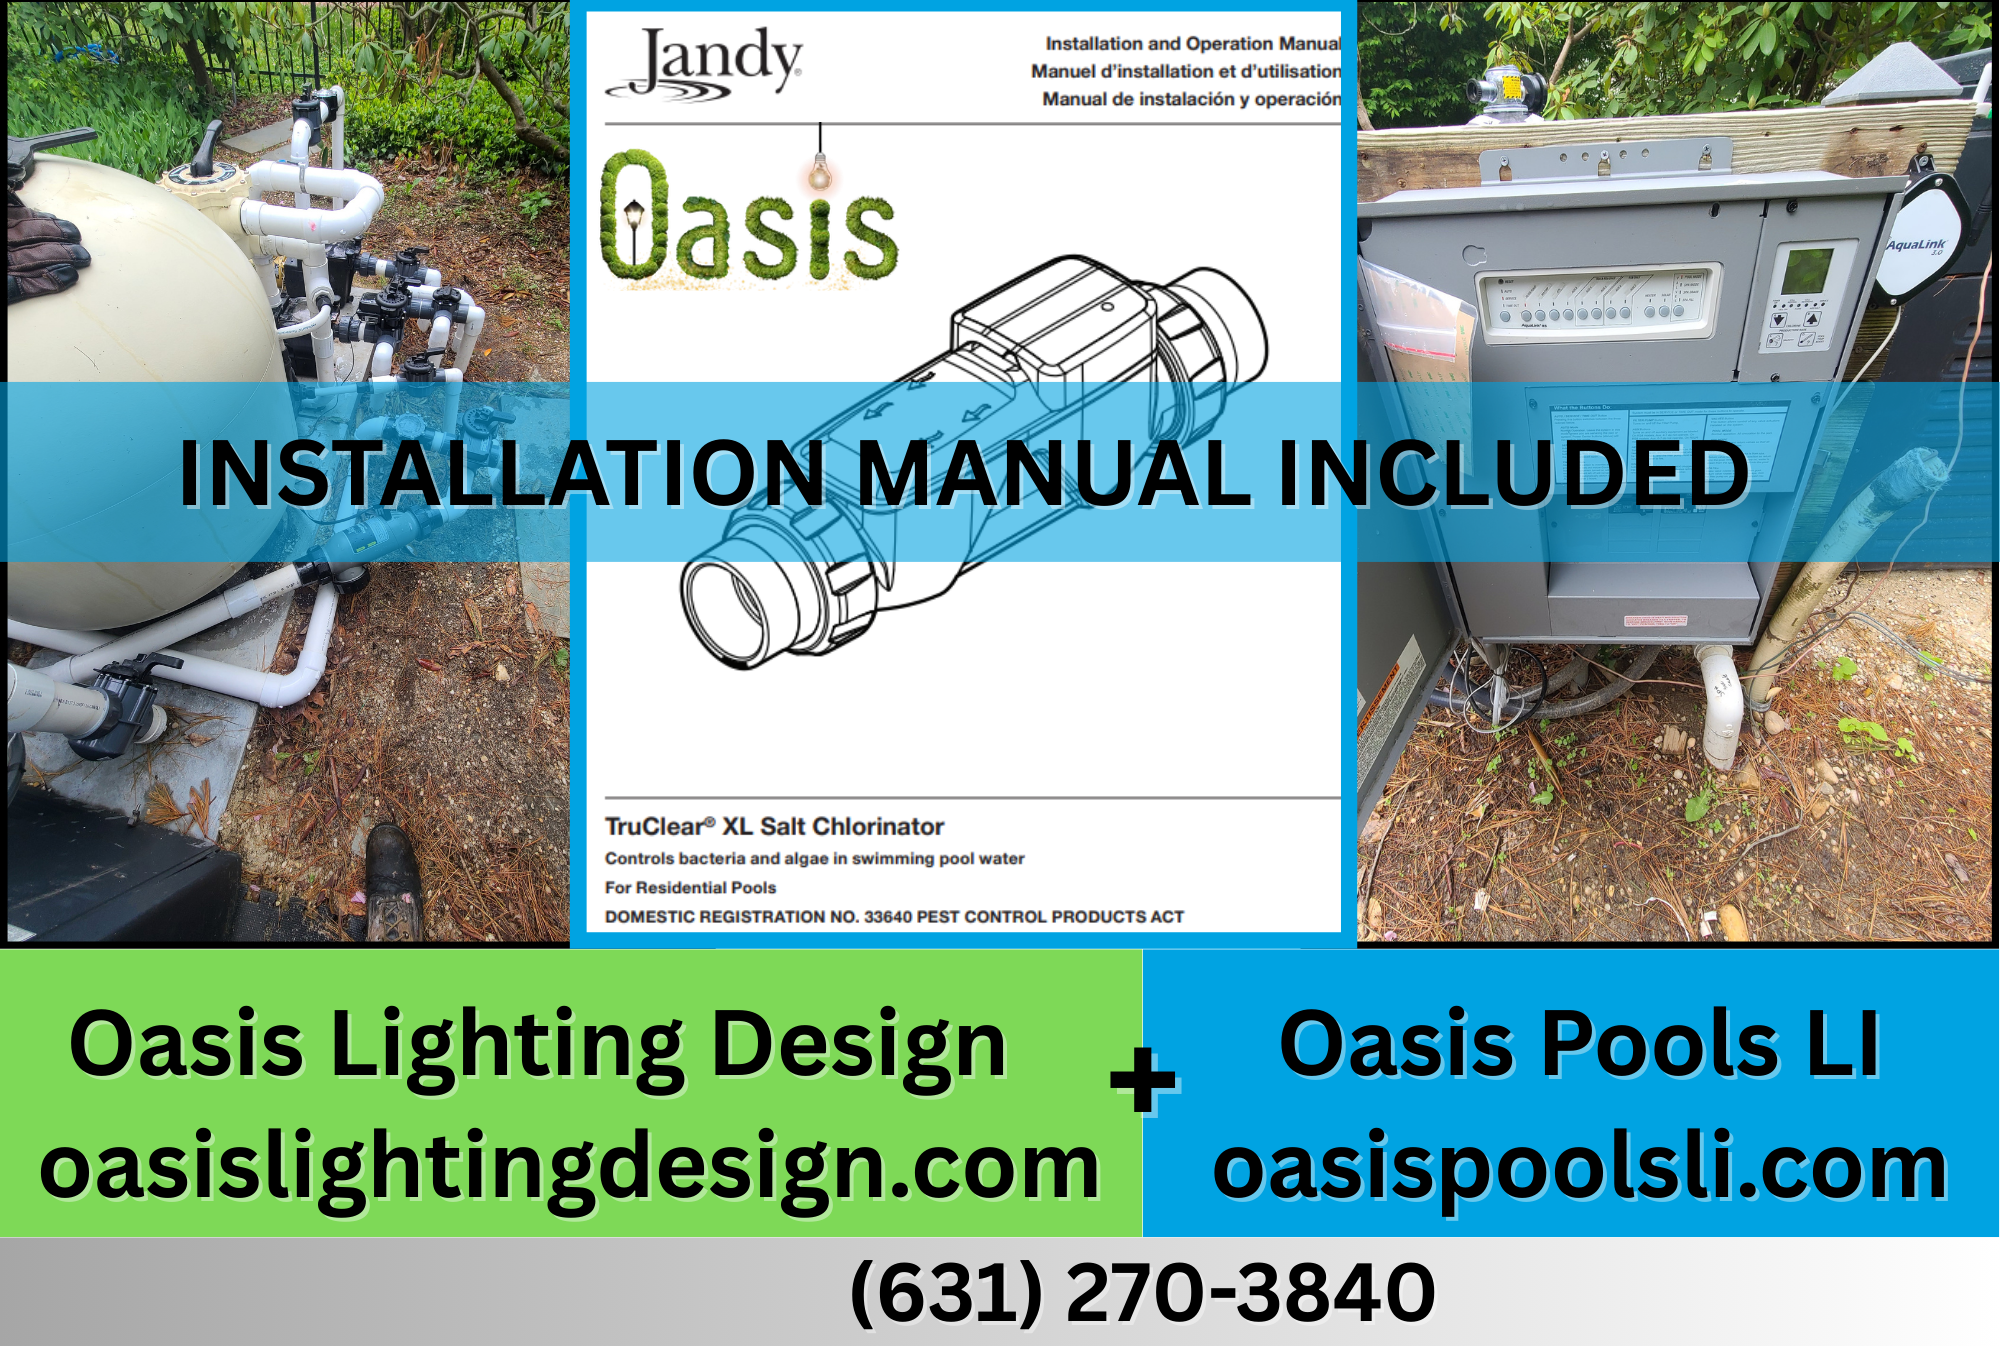
2. Cable Routing and Transformer Setup
Our team runs low voltage cable cleanly through beds and along property edges, then sets the transformer for reliable power distribution.
3. Fixture Installation
We install path lights, spotlights, well lights, and hardscape fixtures based on the approved lighting plan and the conditions on site.
4. Aiming and Light Balance
After dark, we fine-tune each beam angle to balance brightness, eliminate hot spots, and make sure the property reads well from multiple viewpoints.
5. Final Walkthrough
We walk the property with the client, review key effects, and recommend any future expansion areas for additional architectural or landscape lighting.
Resources
Planning a lighting upgrade? Contact Oasis Lighting Design to schedule a consultation or night demo.
Gallery
Fixture installation detail
Transformer and control detail
Completed lighting installation
Nighttime aiming and final adjustment